Weatherproof Dropcam
(...or... "How to Void Your Dropcam Warranty")
(12/19/2012)
![]()
Weatherproof Dropcam(...or... "How to Void Your Dropcam Warranty") (12/19/2012)
|
|
What is this webpage about? I own a "Dropcam" which is a GREAT live webcam with the additional ability to see all the video for the past 7 days (roll back history). I used to run a live streaming Dropcam on http://www.oceangaze.com which overlooks a beach north of Monterey, California (a few miles south of San Francisco). Dropcams are incredibly easy to setup, it takes about two minutes (not kidding) and you have your own live streaming website.
There is only one problem, which is that Dropcam are for indoor use only. Since mine is outside *AND* in an ocean air environment, the Dropcam lasted about 6 months in heavy rain storms producing really nice, high quality video for me before the power connector (micro-USB) corroded and started flaking out on me. This page documents my SECOND Dropcam, which I'm trying to weather proof. WARNING: I have no proof this will work, and the company that makes Dropcam says you shouldn't do anything like this!
NICE ALTERNATIVE DESIGN FROM ANOTHER PERSON (found recently on the web!): http://jamiemoney.com/blog/2013/7/11/weather-resistant-dropcam
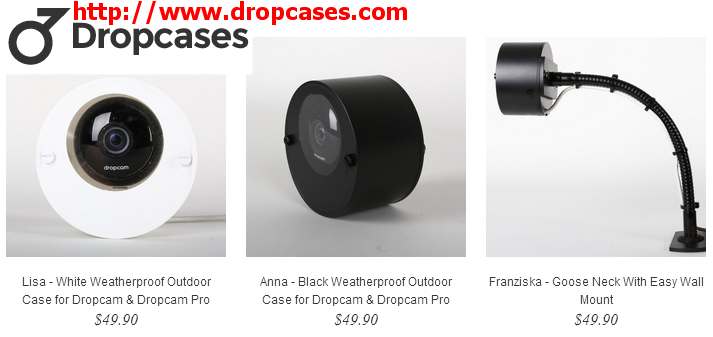
Update 6/17/2014 - COMMERCIAL (PROFESSIONAL) DESIGNS have started showing up: http://dropcases.com/
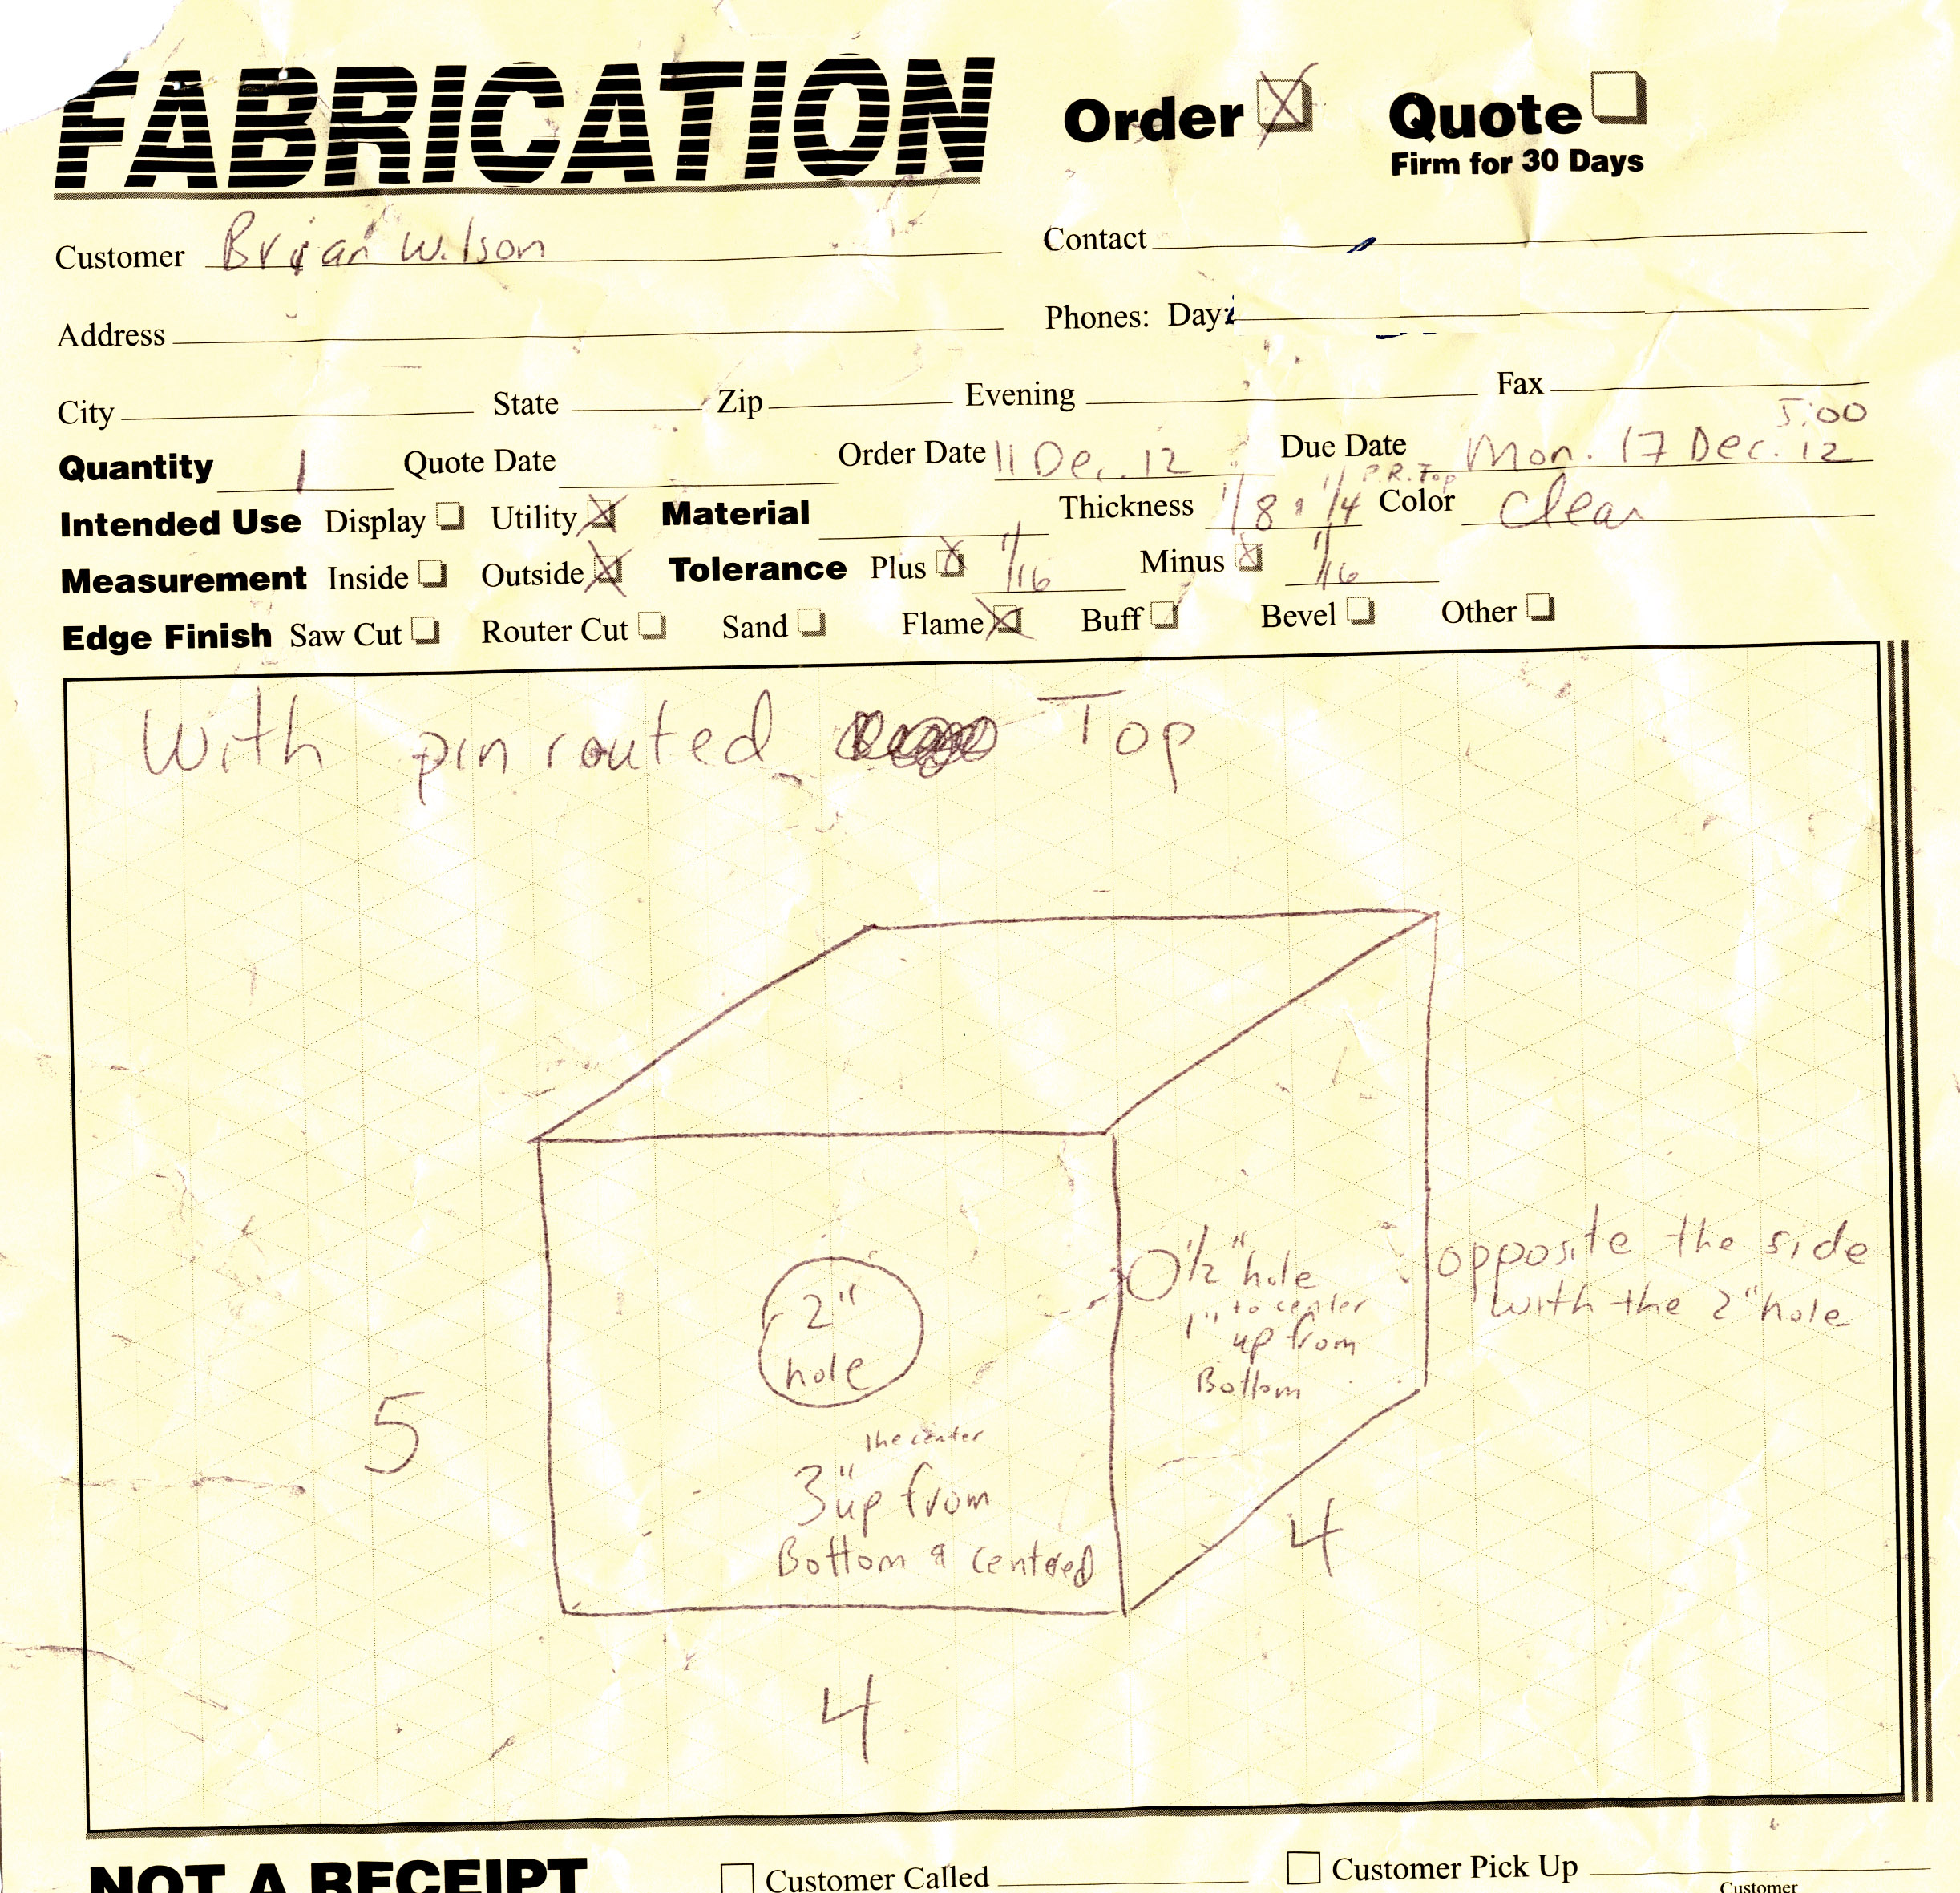
The design is very simple. I had "Tap Plastics" fabricate me a custom acrylic box which took them a couple days. Here is the design we did in 5 minutes standing at the front counter in the San Mateo Tap Plastics:
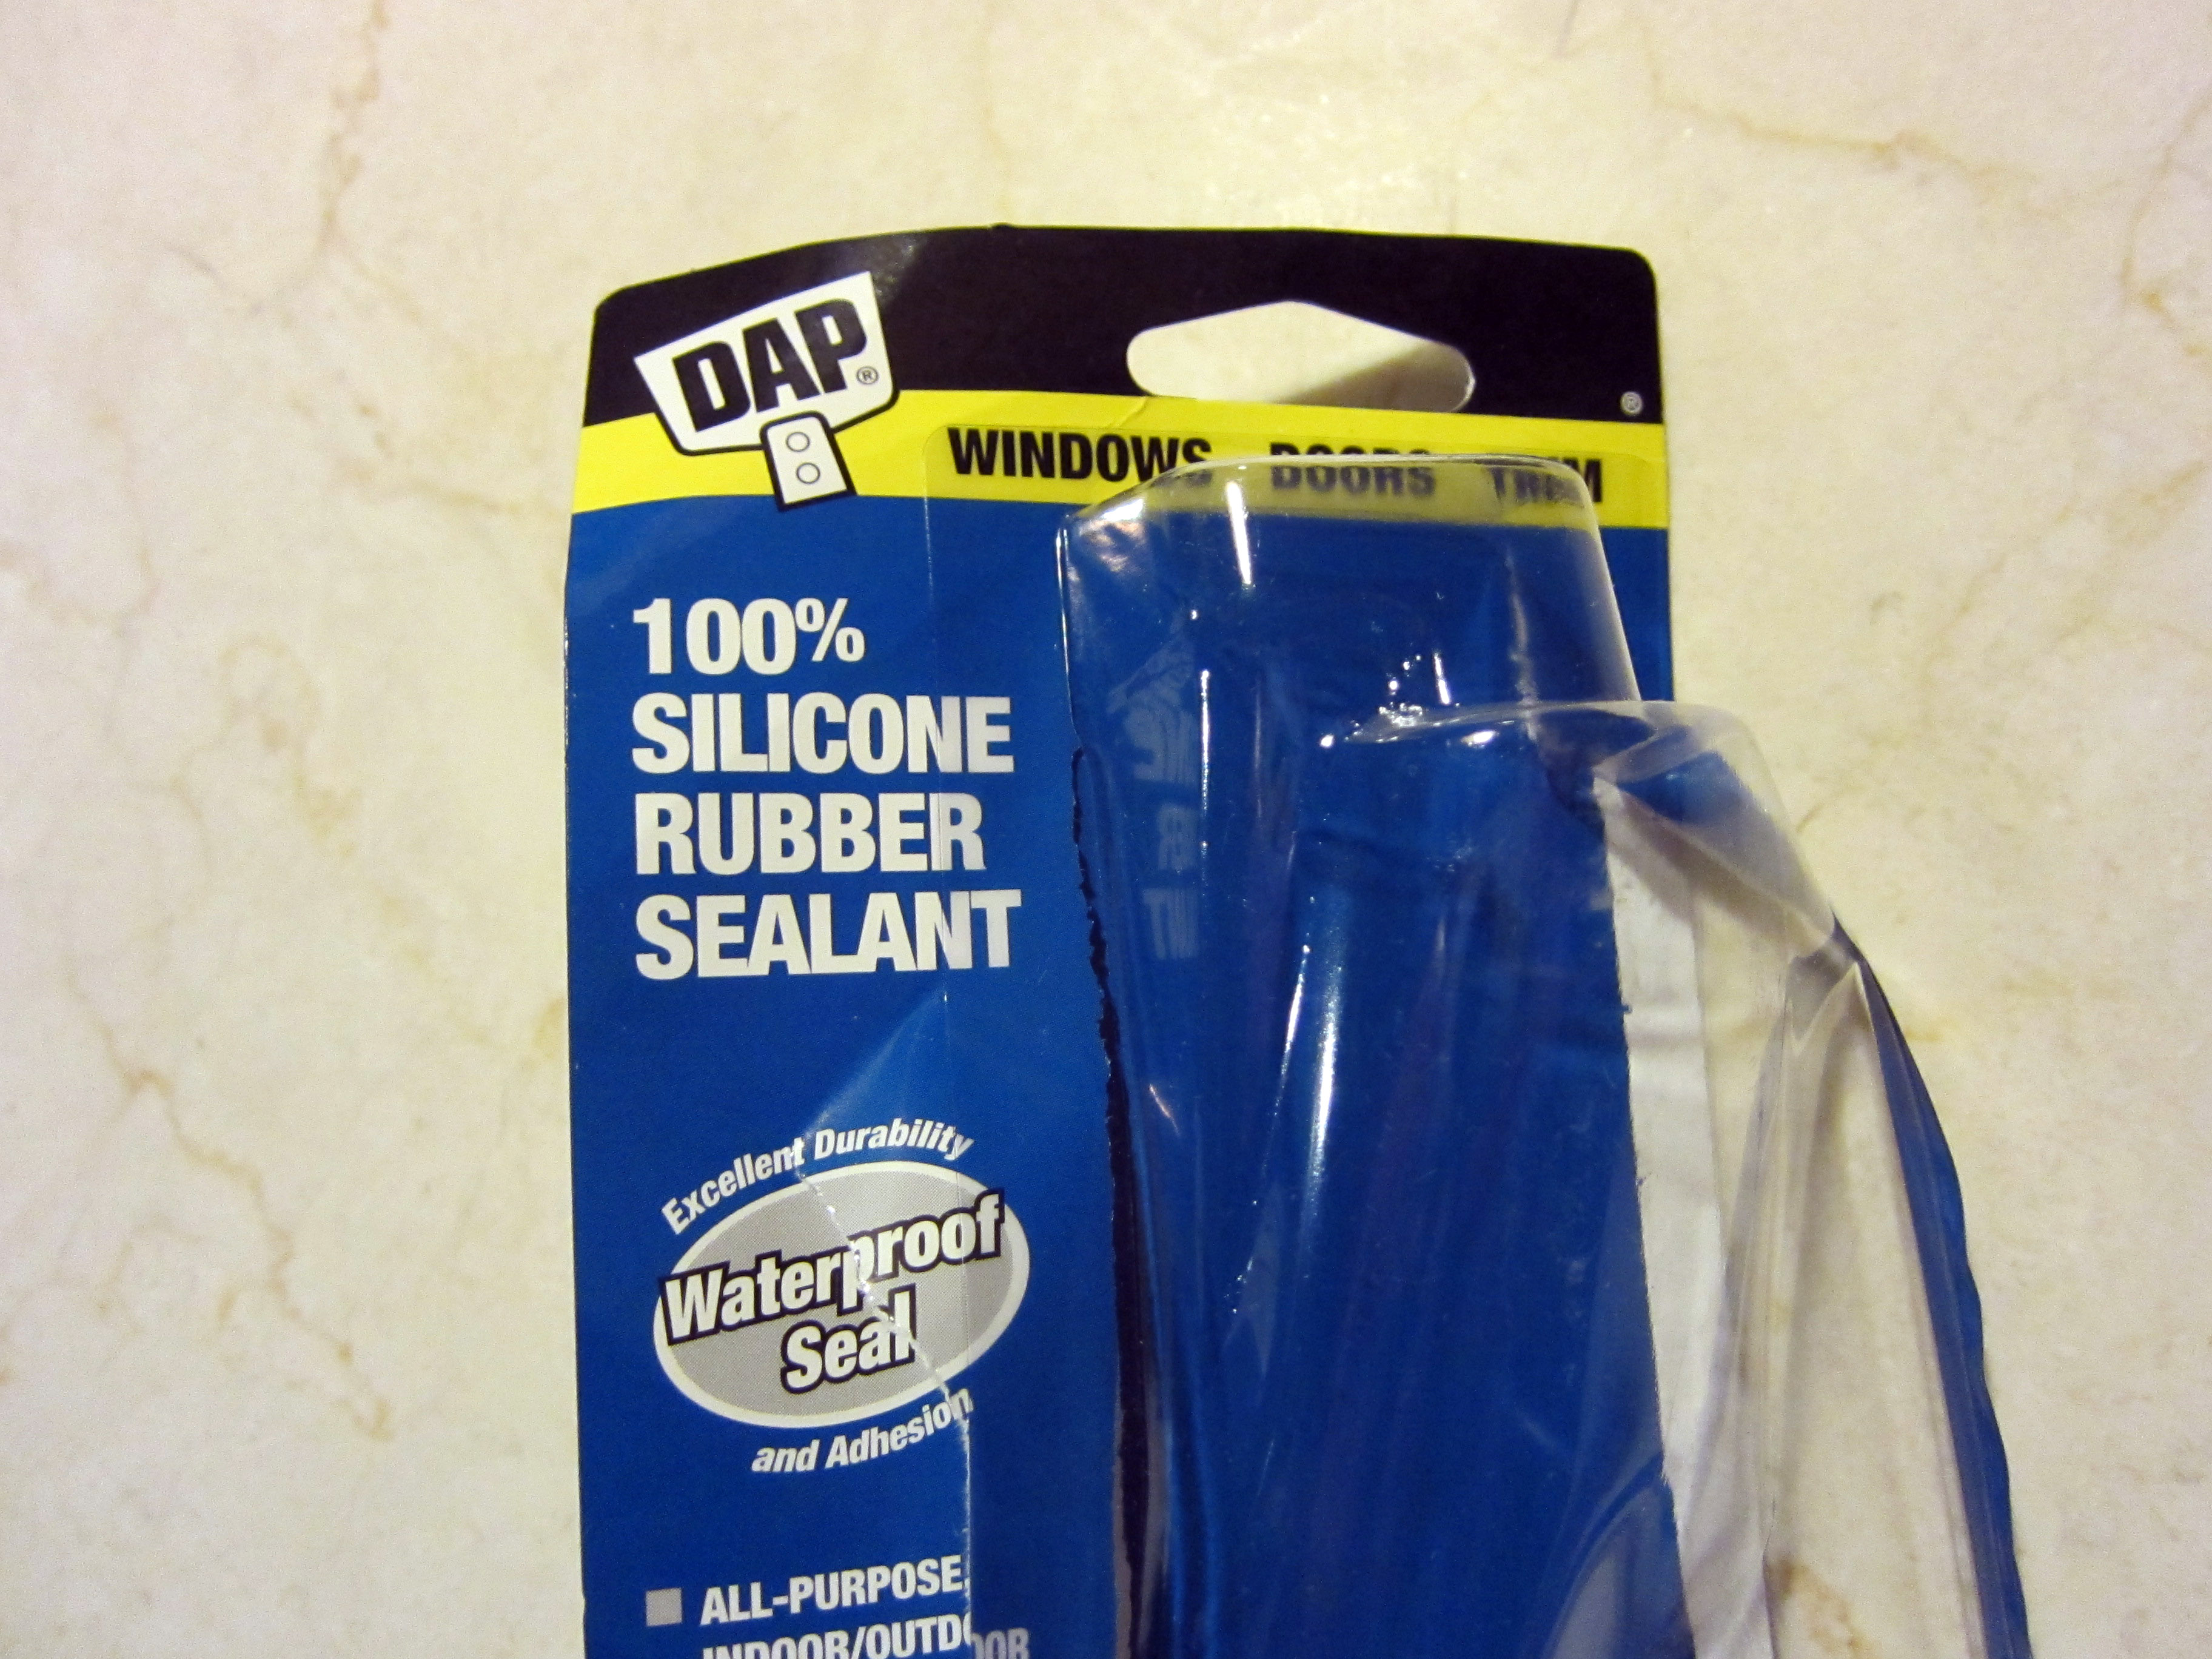
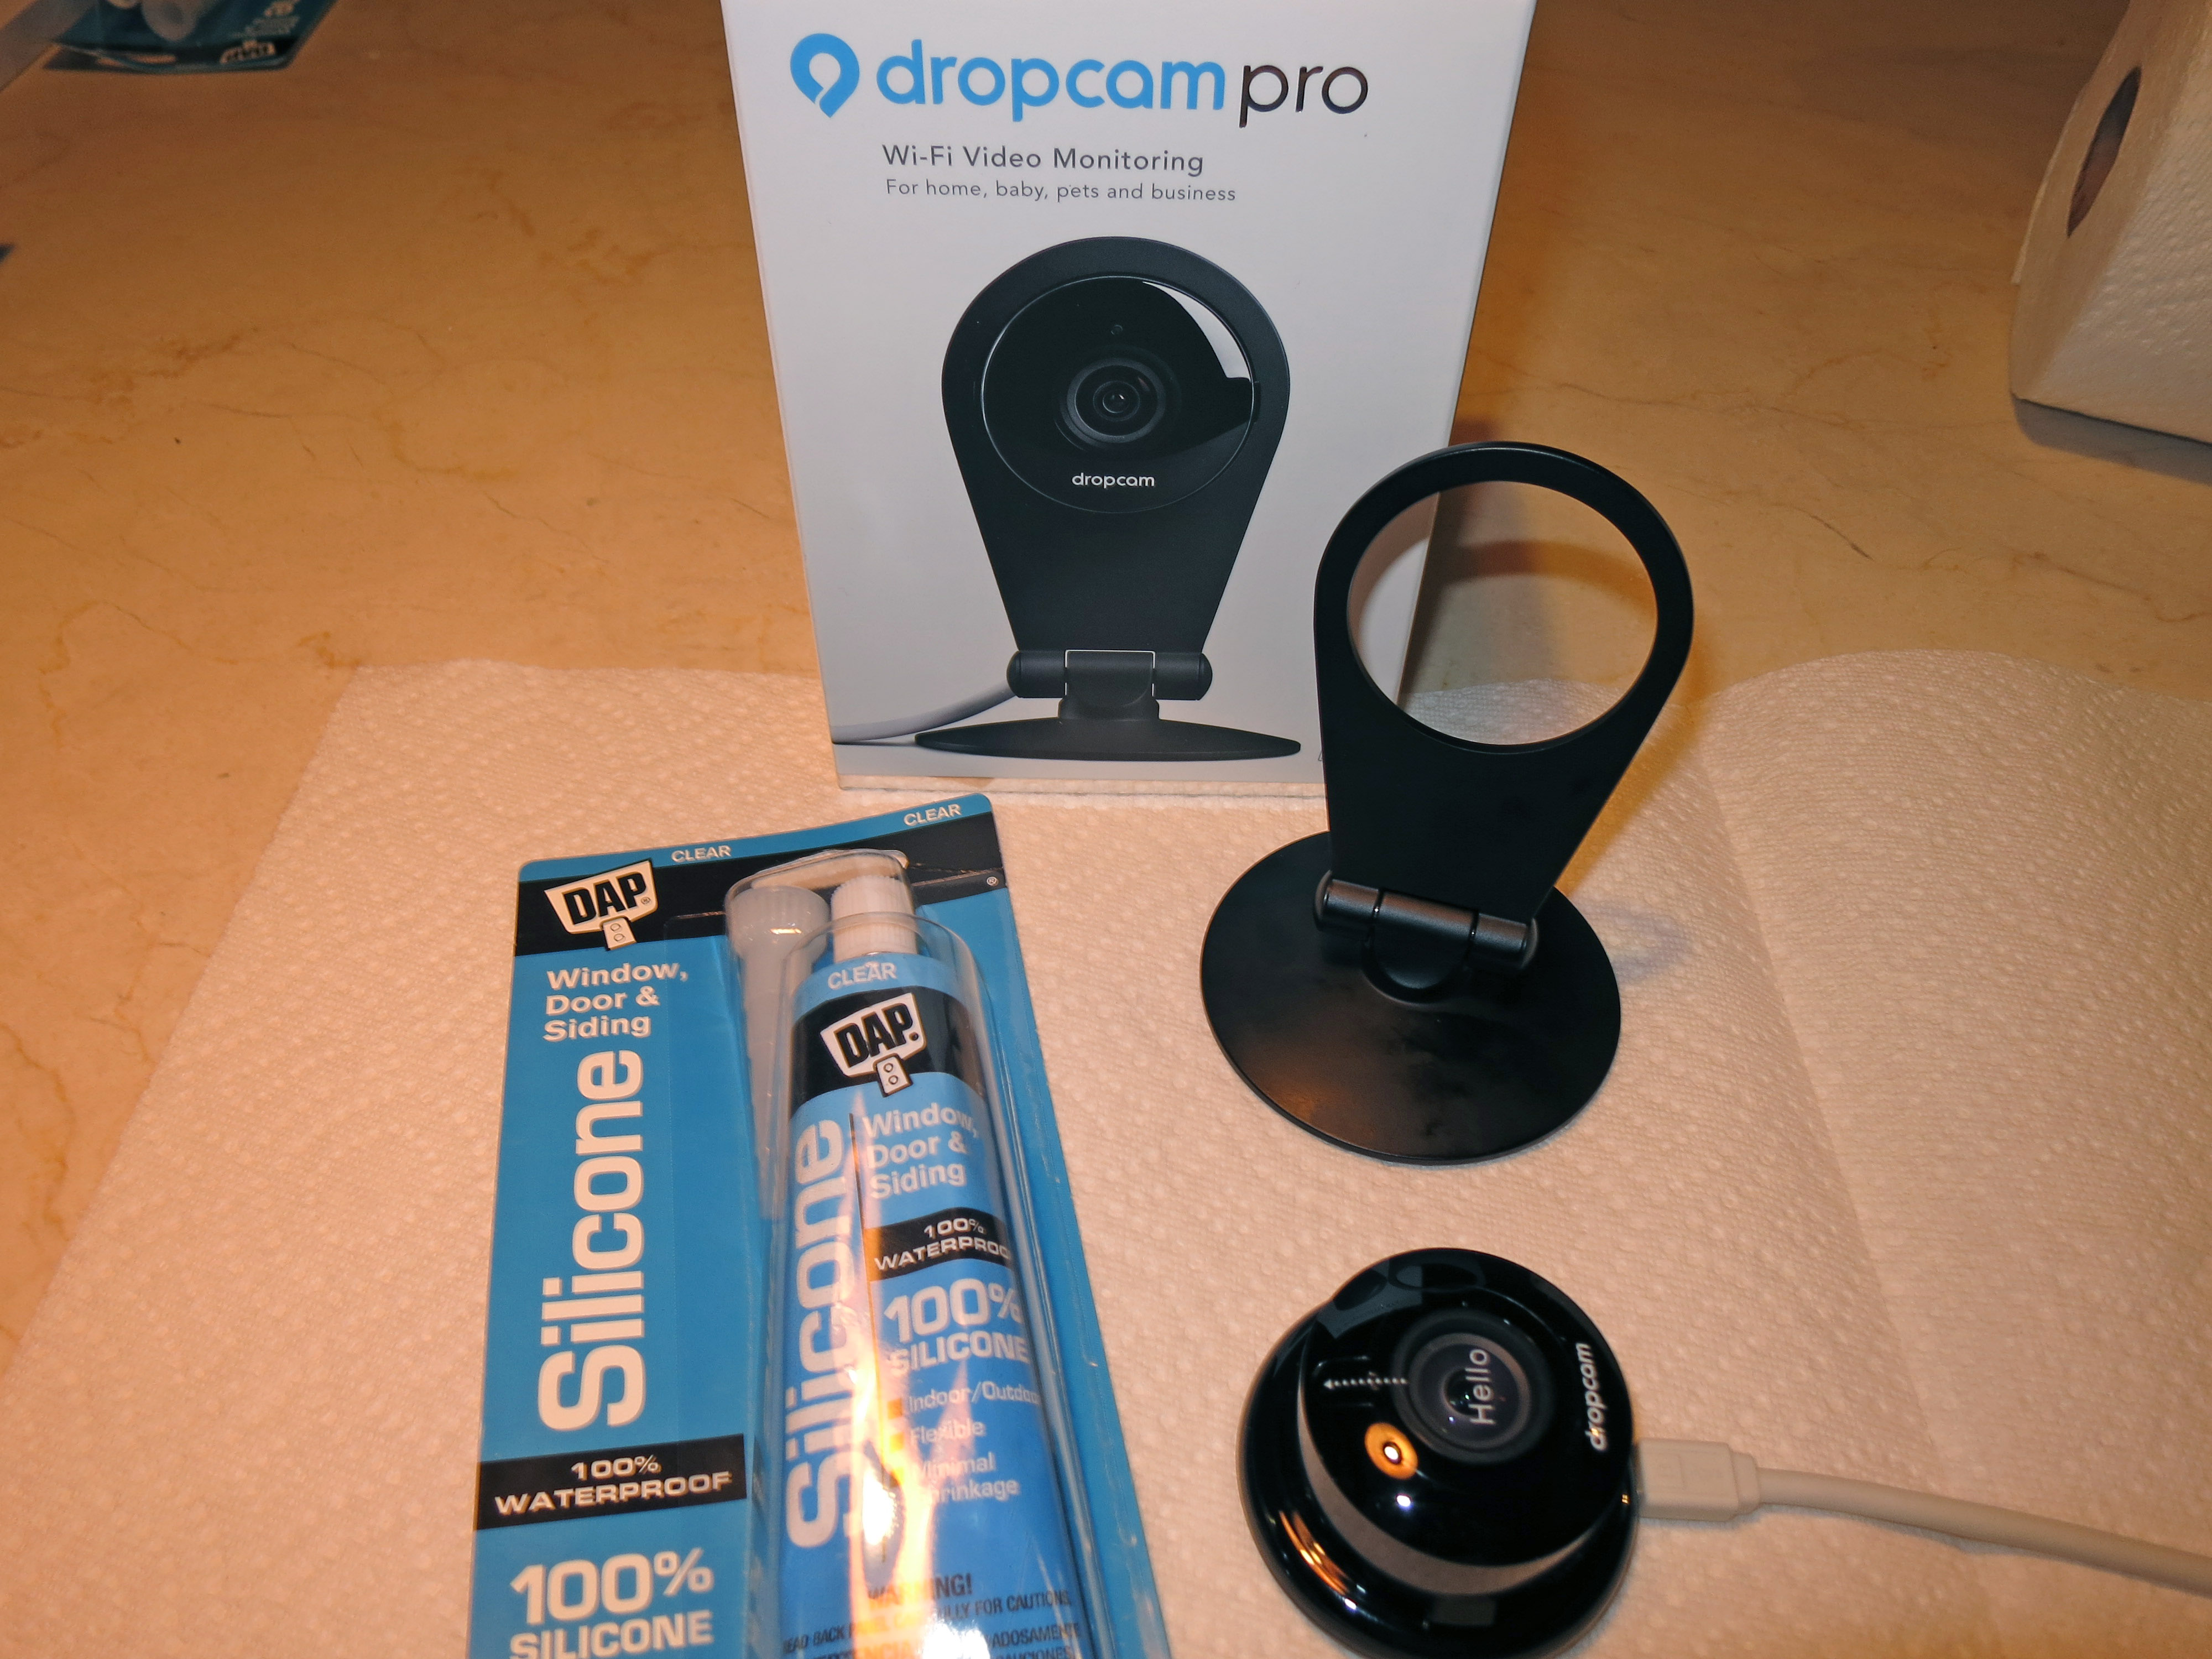
Ok, so the plan is to put the Dropcam peeking out the hole, and "airtight seal" it with 100 percent Silicone. IMPORTANT NOTE: Rubber cement ruins acrylic!! Only use 100 percent silicone. Below is the brand of Silicone in a small tube I picked up at the local hardware store.
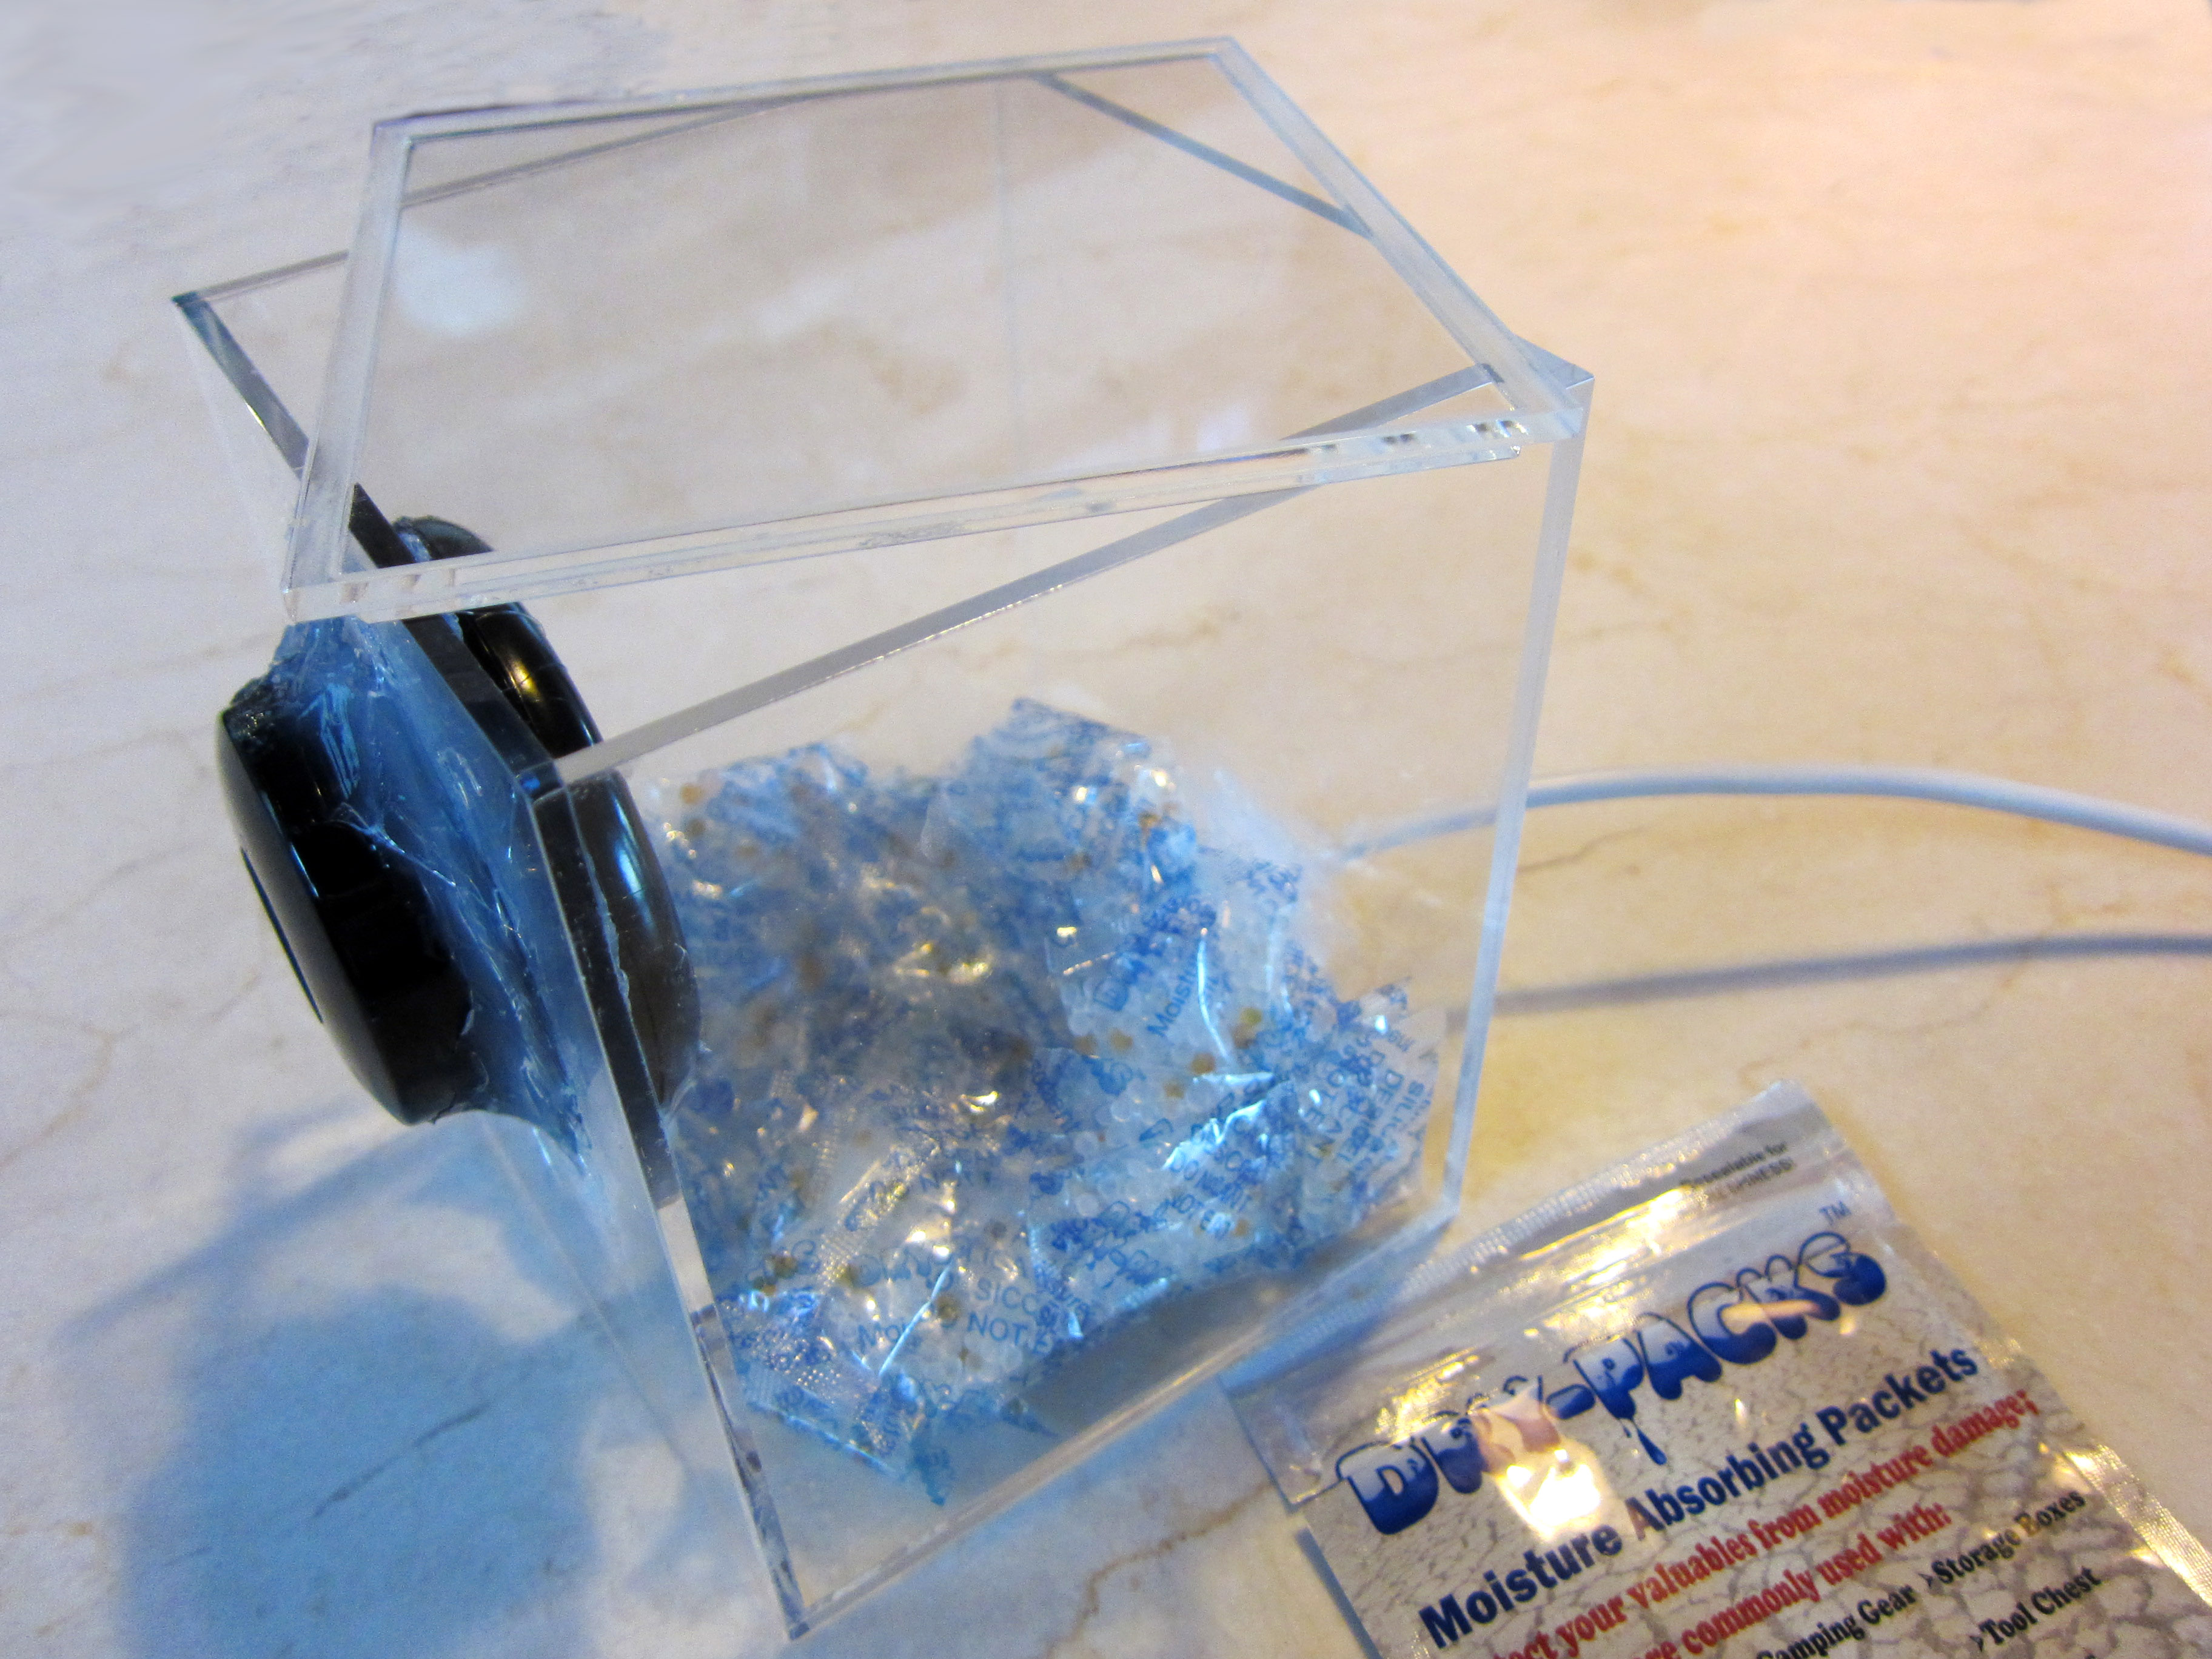
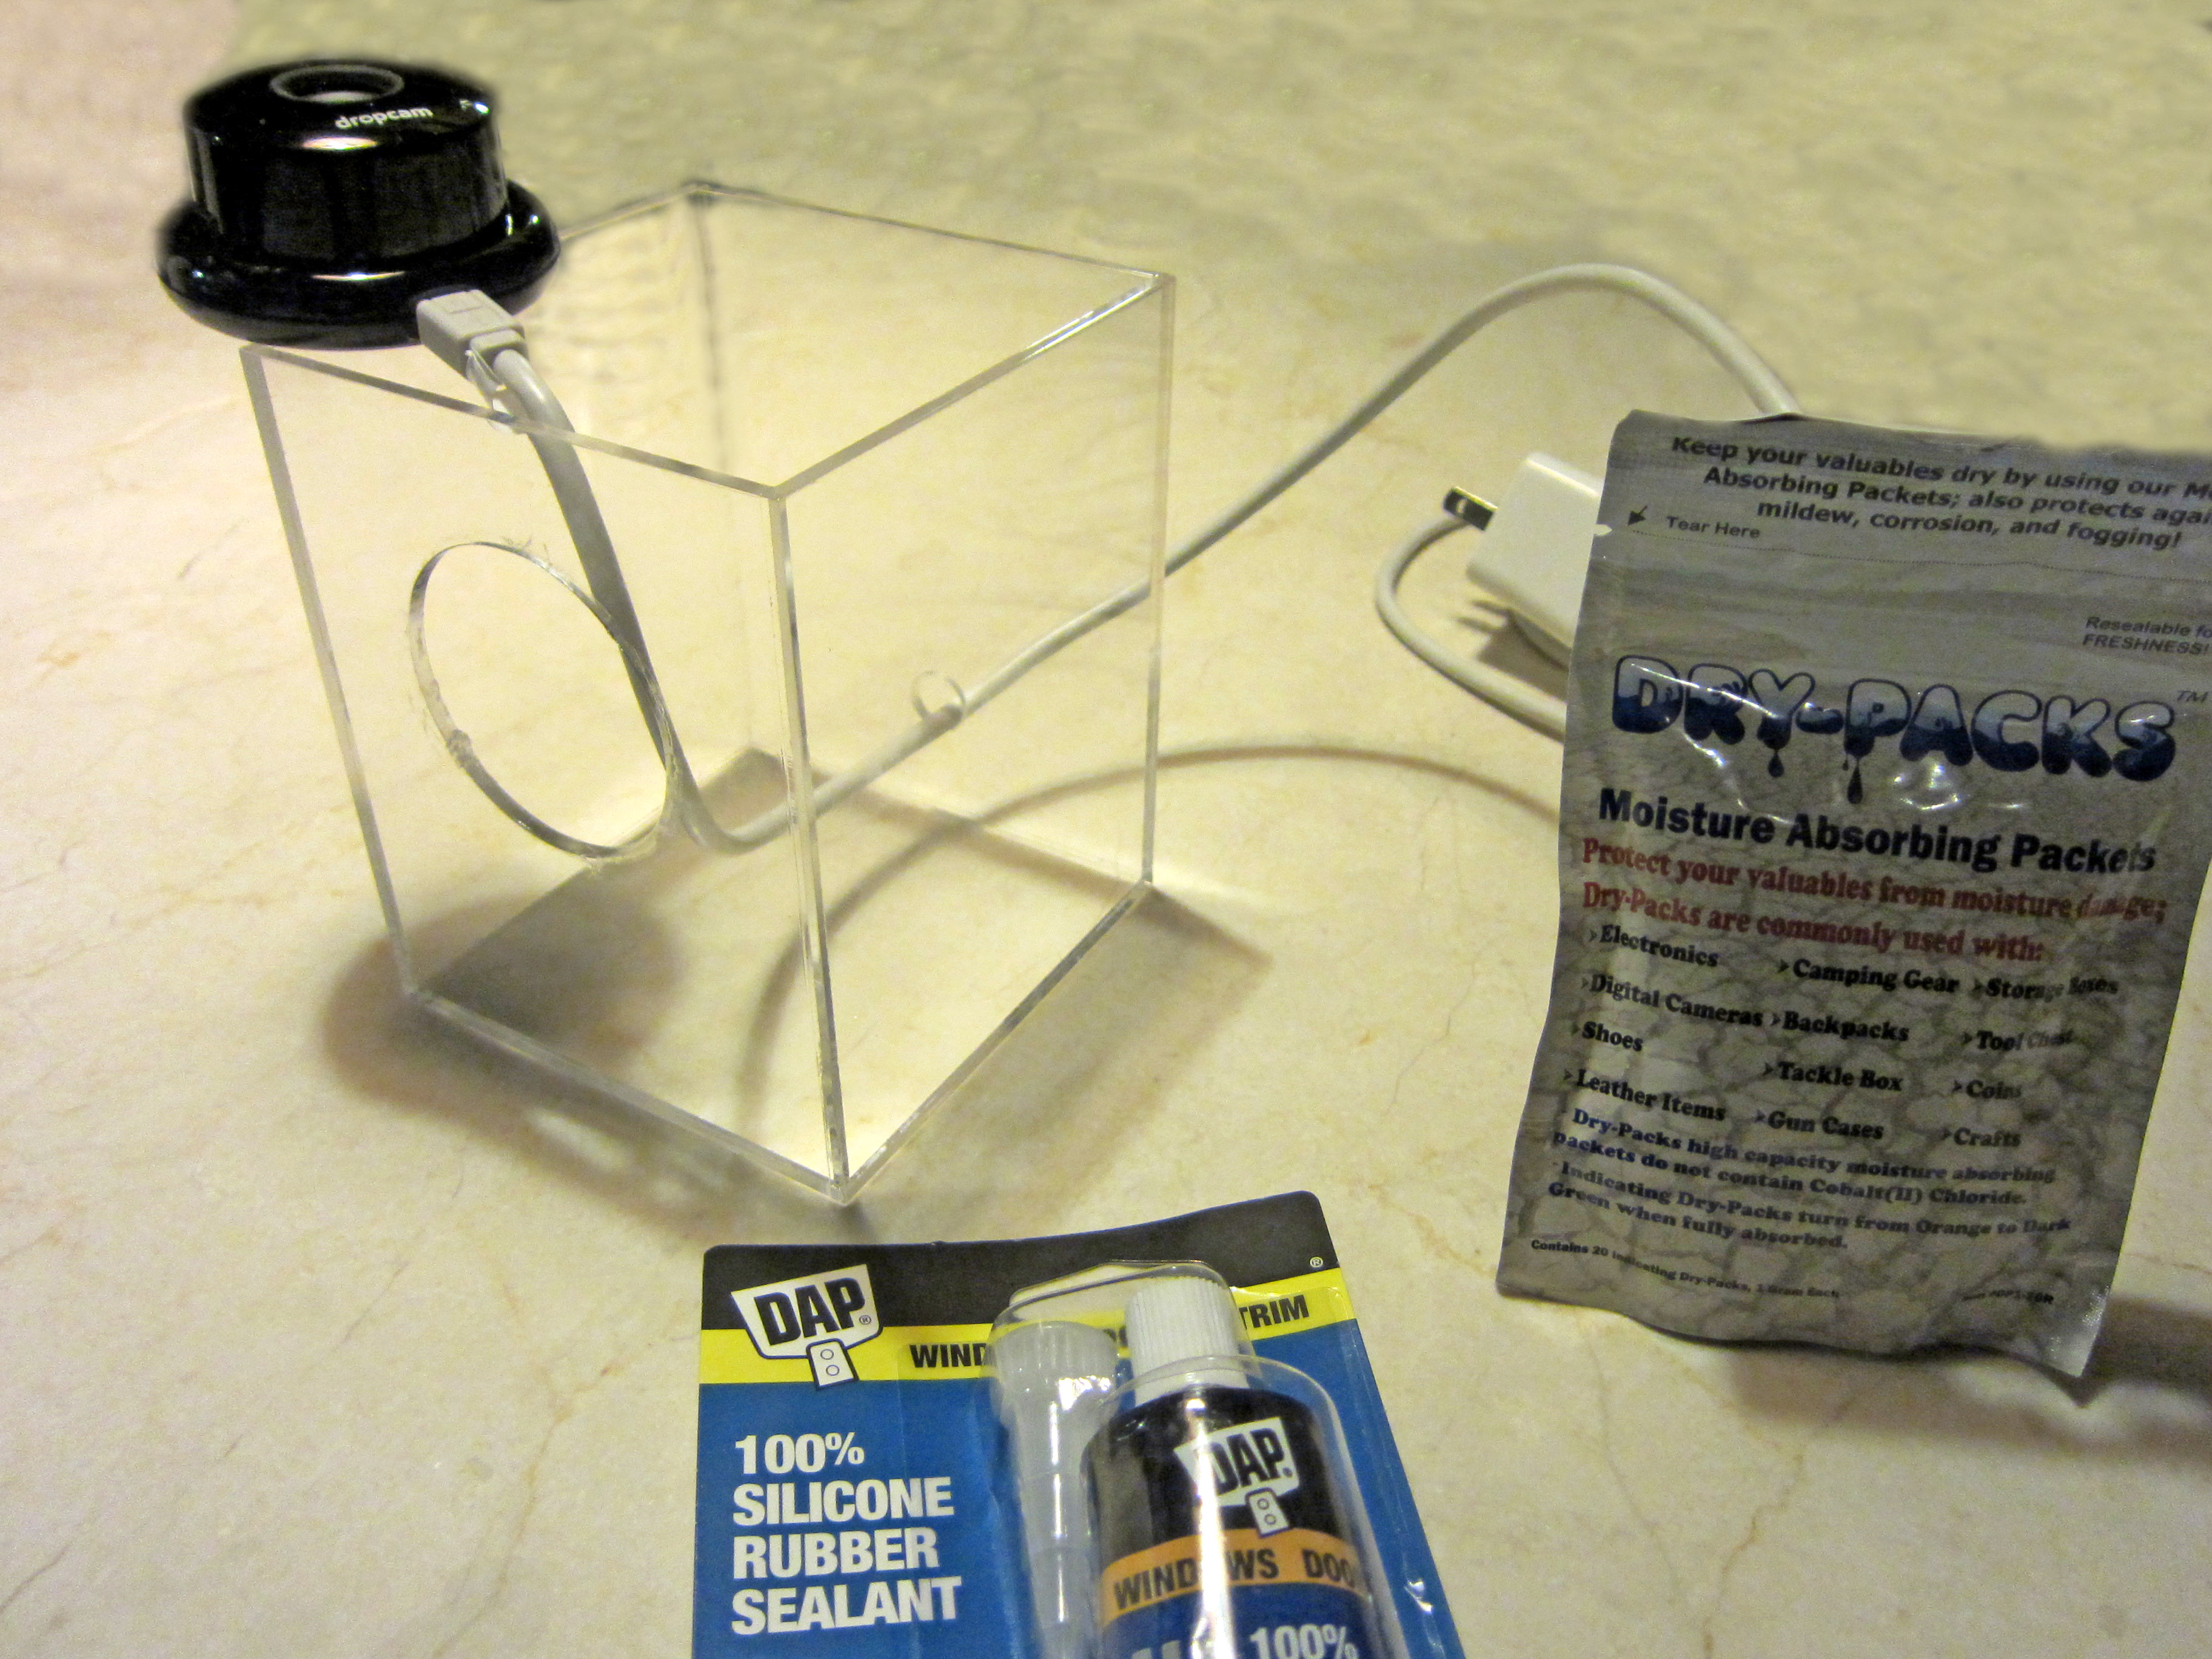
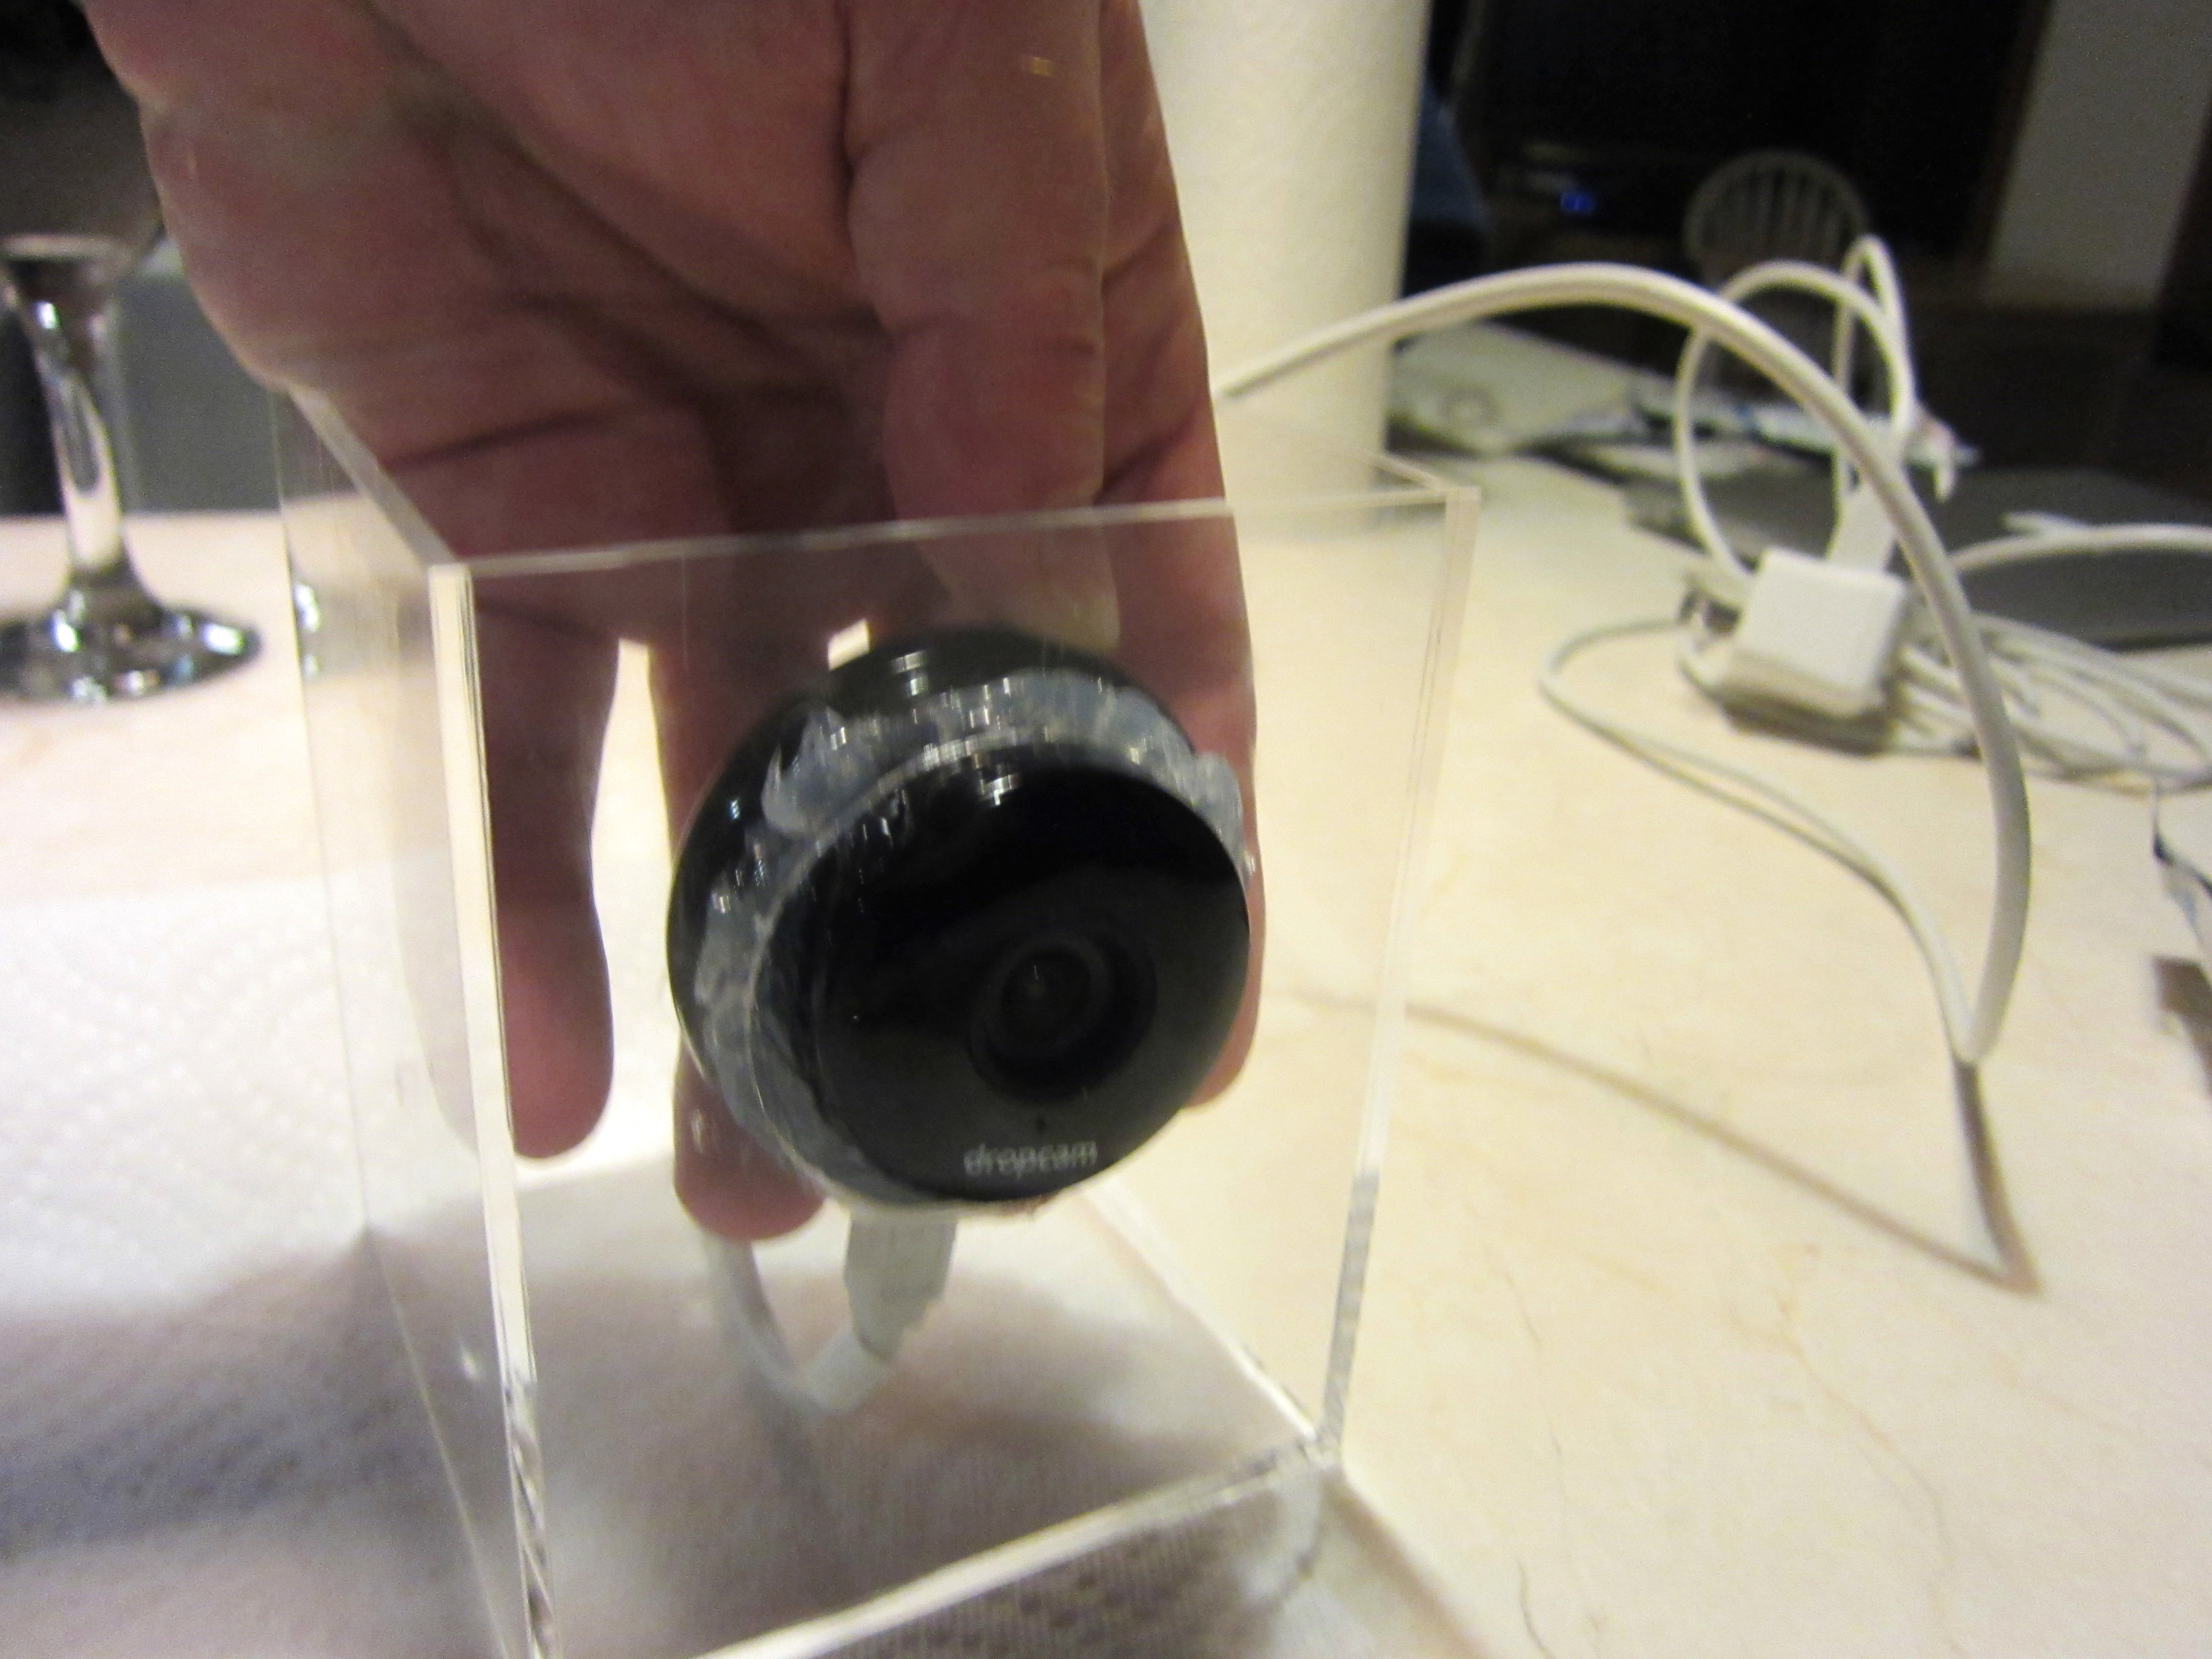
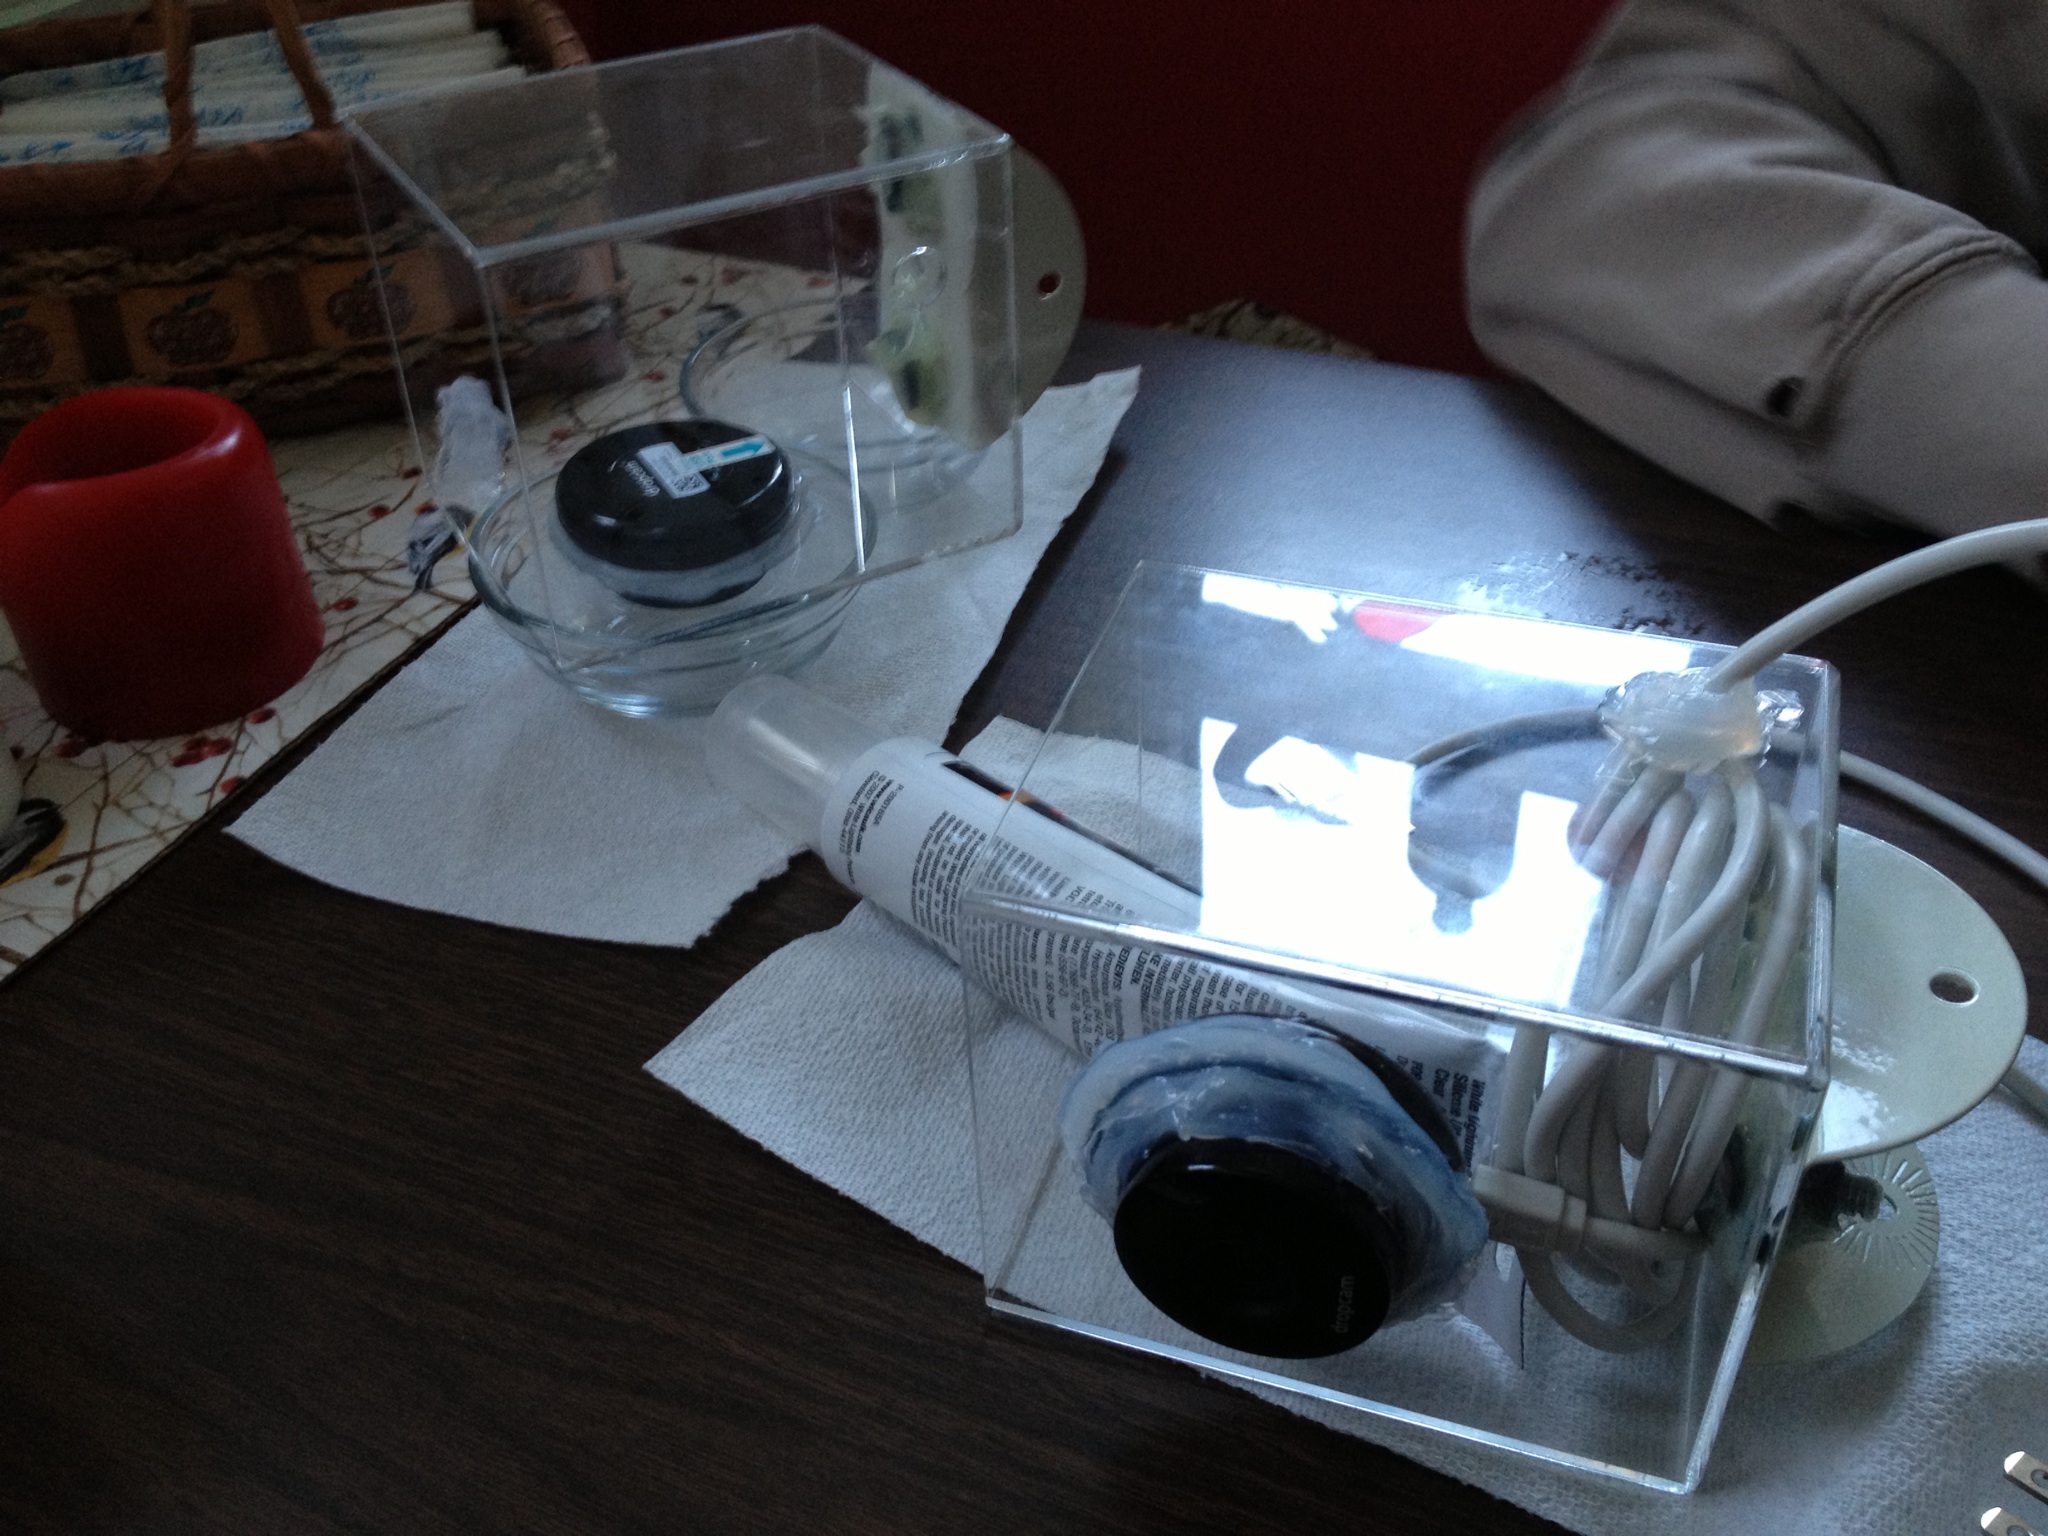
Ok, got the very nice little acrylic box back from Tap Plastics (see picture below) and I'm about to assemble my weatherproof Dropcam. Below I have FIRST unplugged the power cord from the Dropcam and threaded the power cord through the little hole in back and then plugged the power back into the "puck" camera. Oh-> for a little additional weather proofing, after it is all assembled I'm going to toss in a few "Moisture Absorbing Silica Gel Packets" I bought on Amazon.com to keep the insides of the acrylic box dry. These turn from yellow to dark green when they absorb water so I know if I need to replace them.
I start by putting a "bead" of clear silicone around the edge of the "puck" camera as shown in the picture below. NOTE: Dropcams get warm, and they need to vent that heat off! The company that makes Dropcam very specifically point out not to block the vents.
![]()
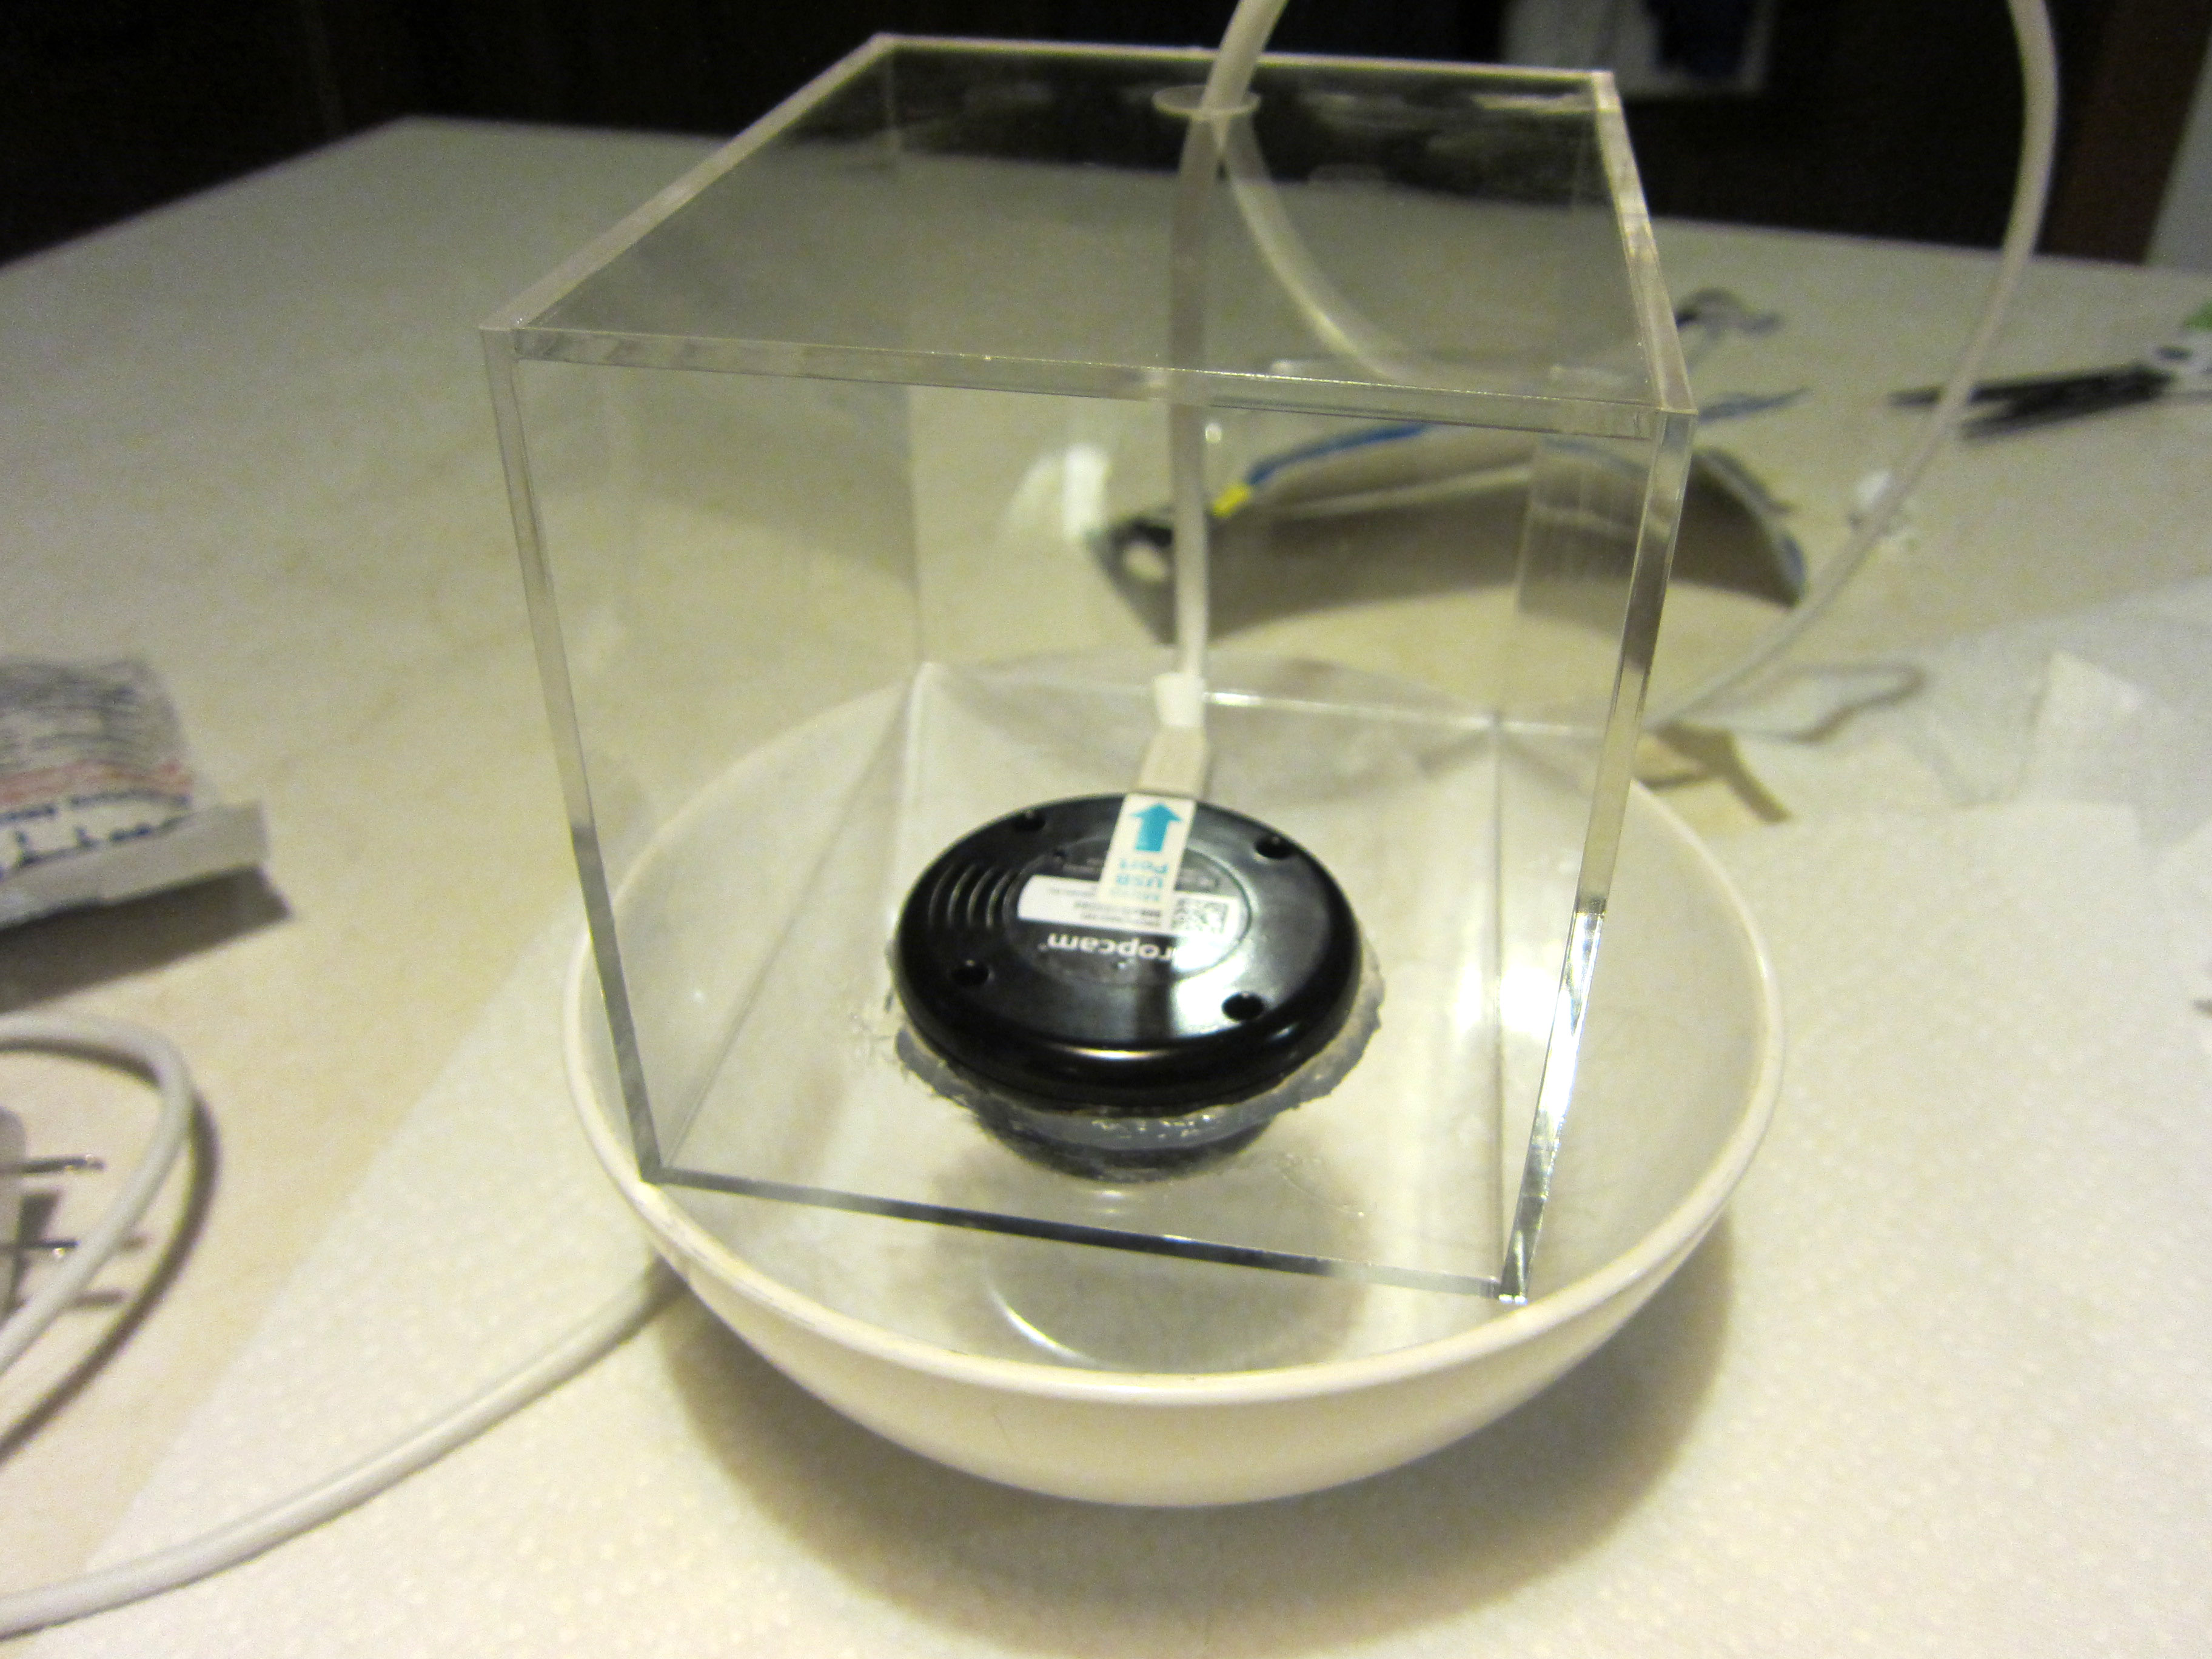
Here I push the silicone ringed Dropcam through it's portal.
The silicone is supposed to dry for 12 hours, so I rigged up the silly bowl below to allow it to dry without putting pressure on the lens.
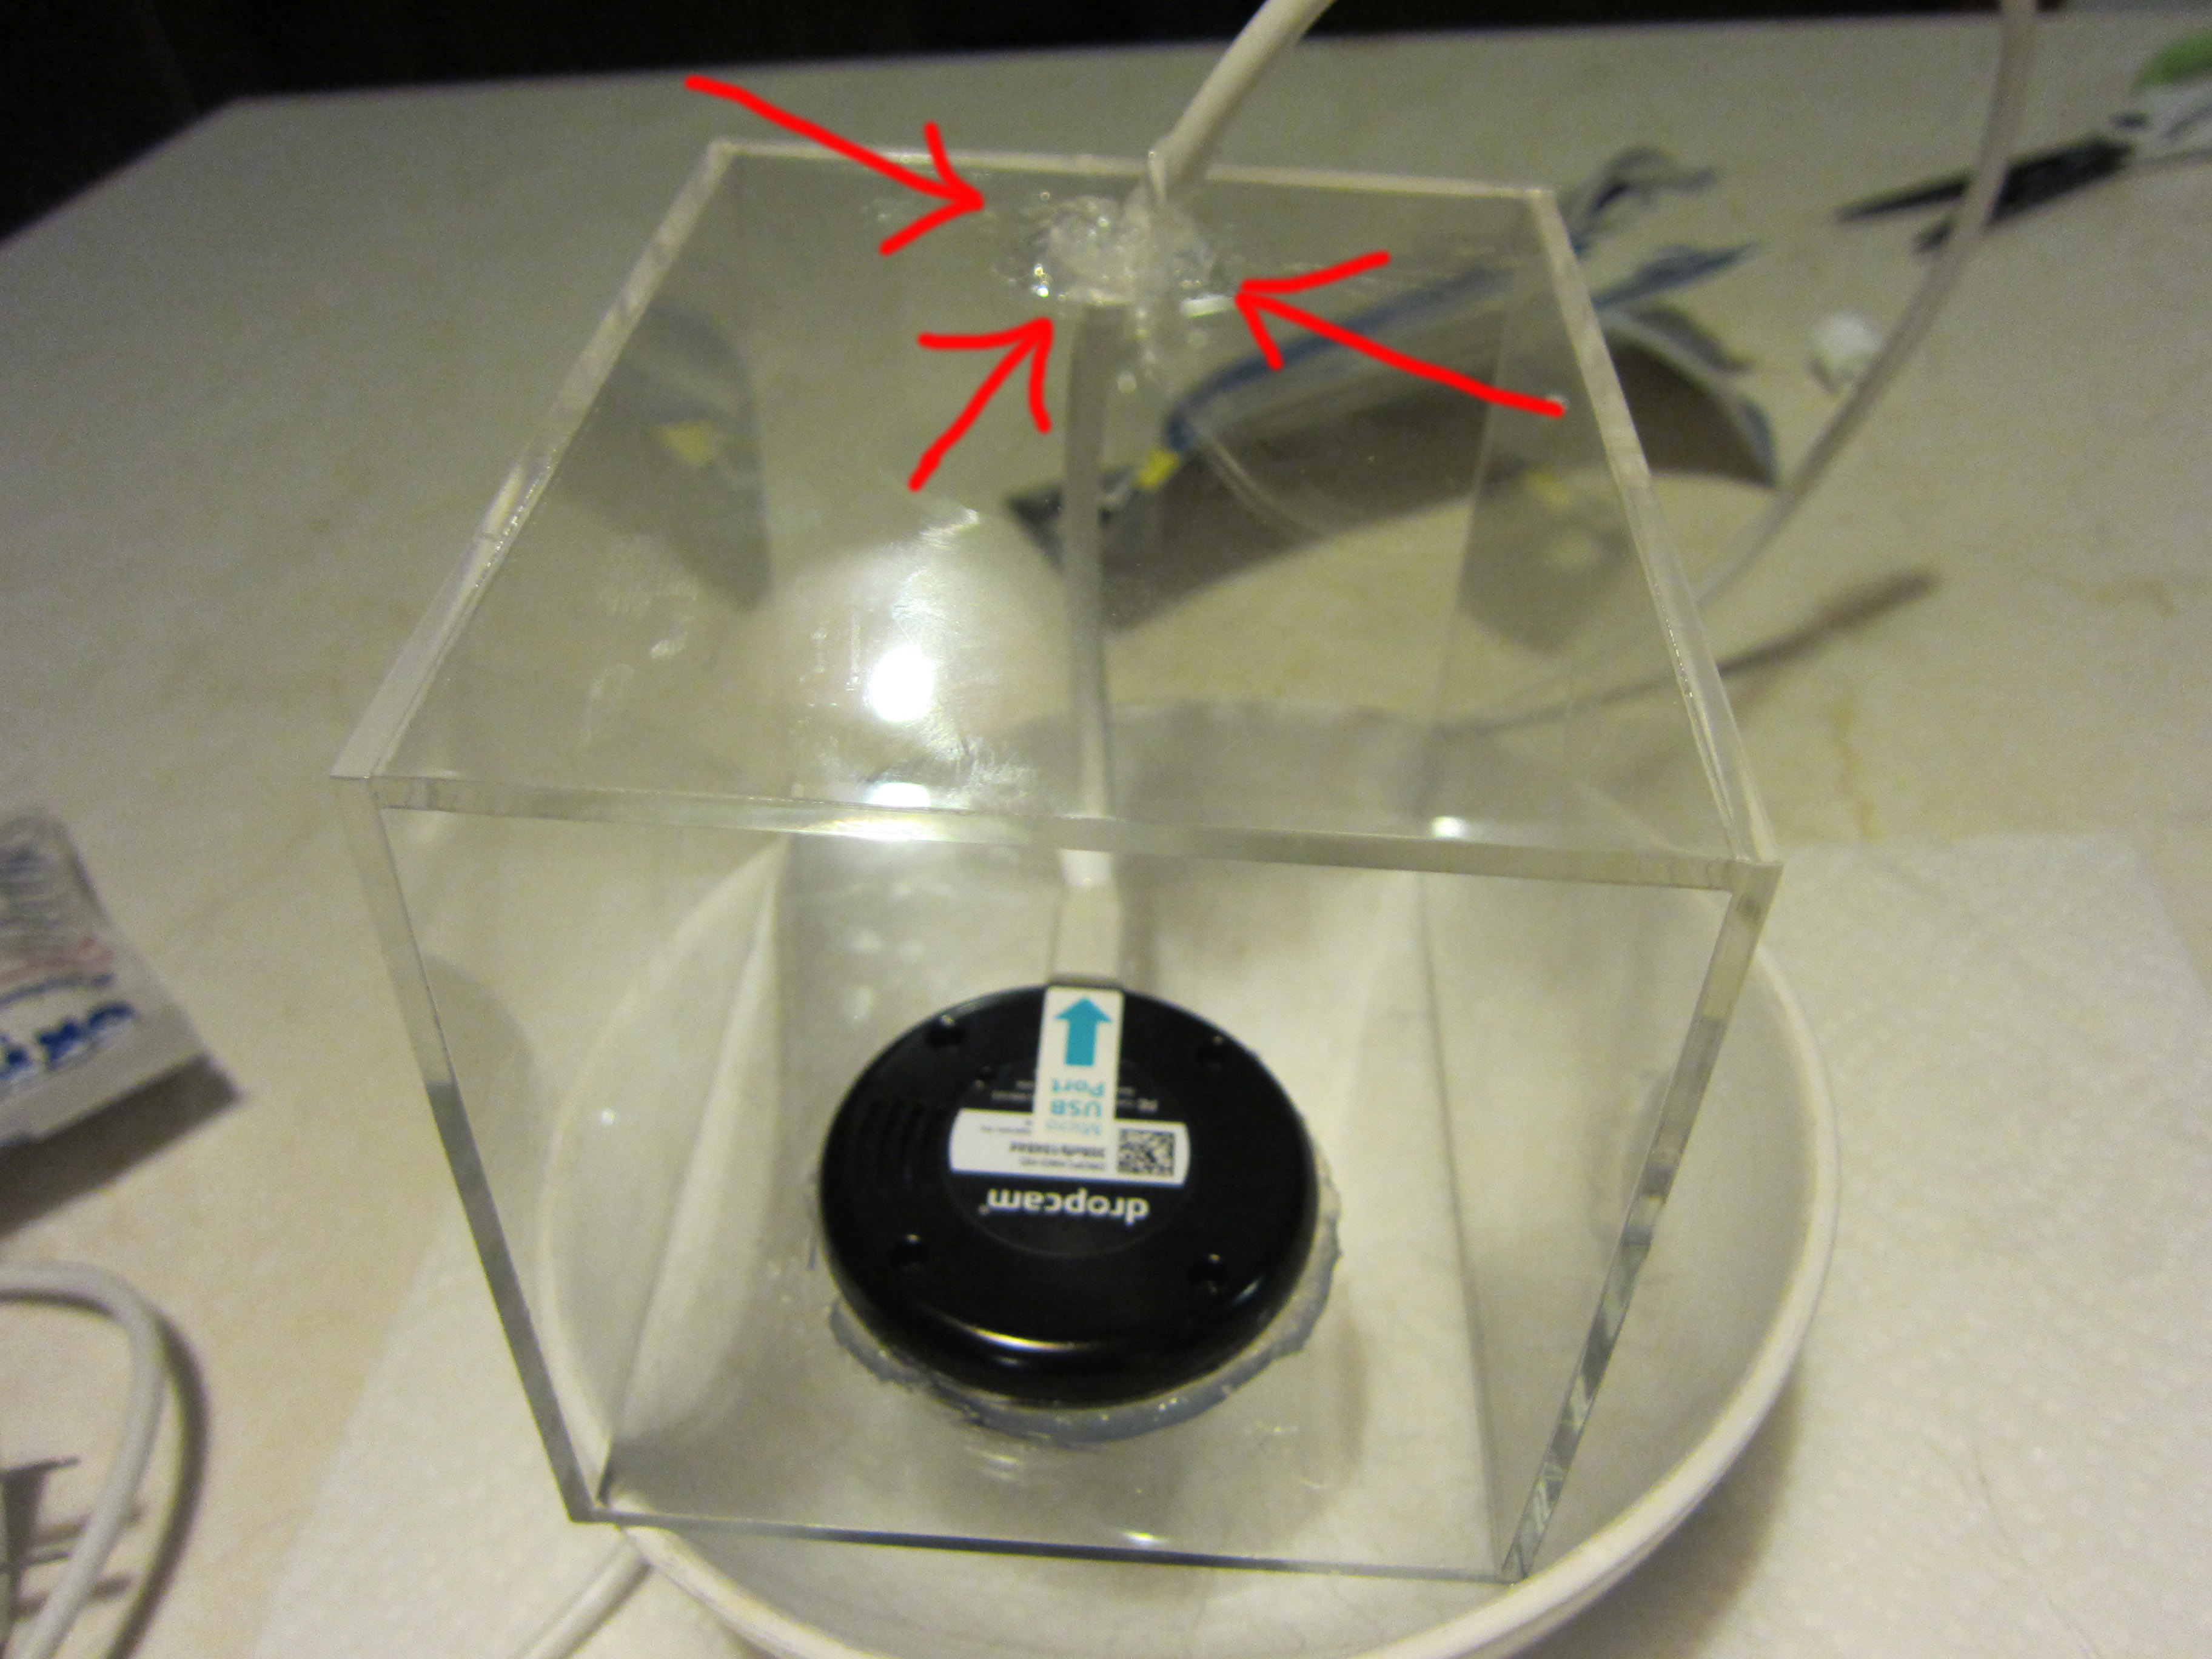
A couple hours later, before going to bed I filled the power cord hole with silicone. Yep, I know it looks like a mess. :-) It's not pretty, but it should be airtight.
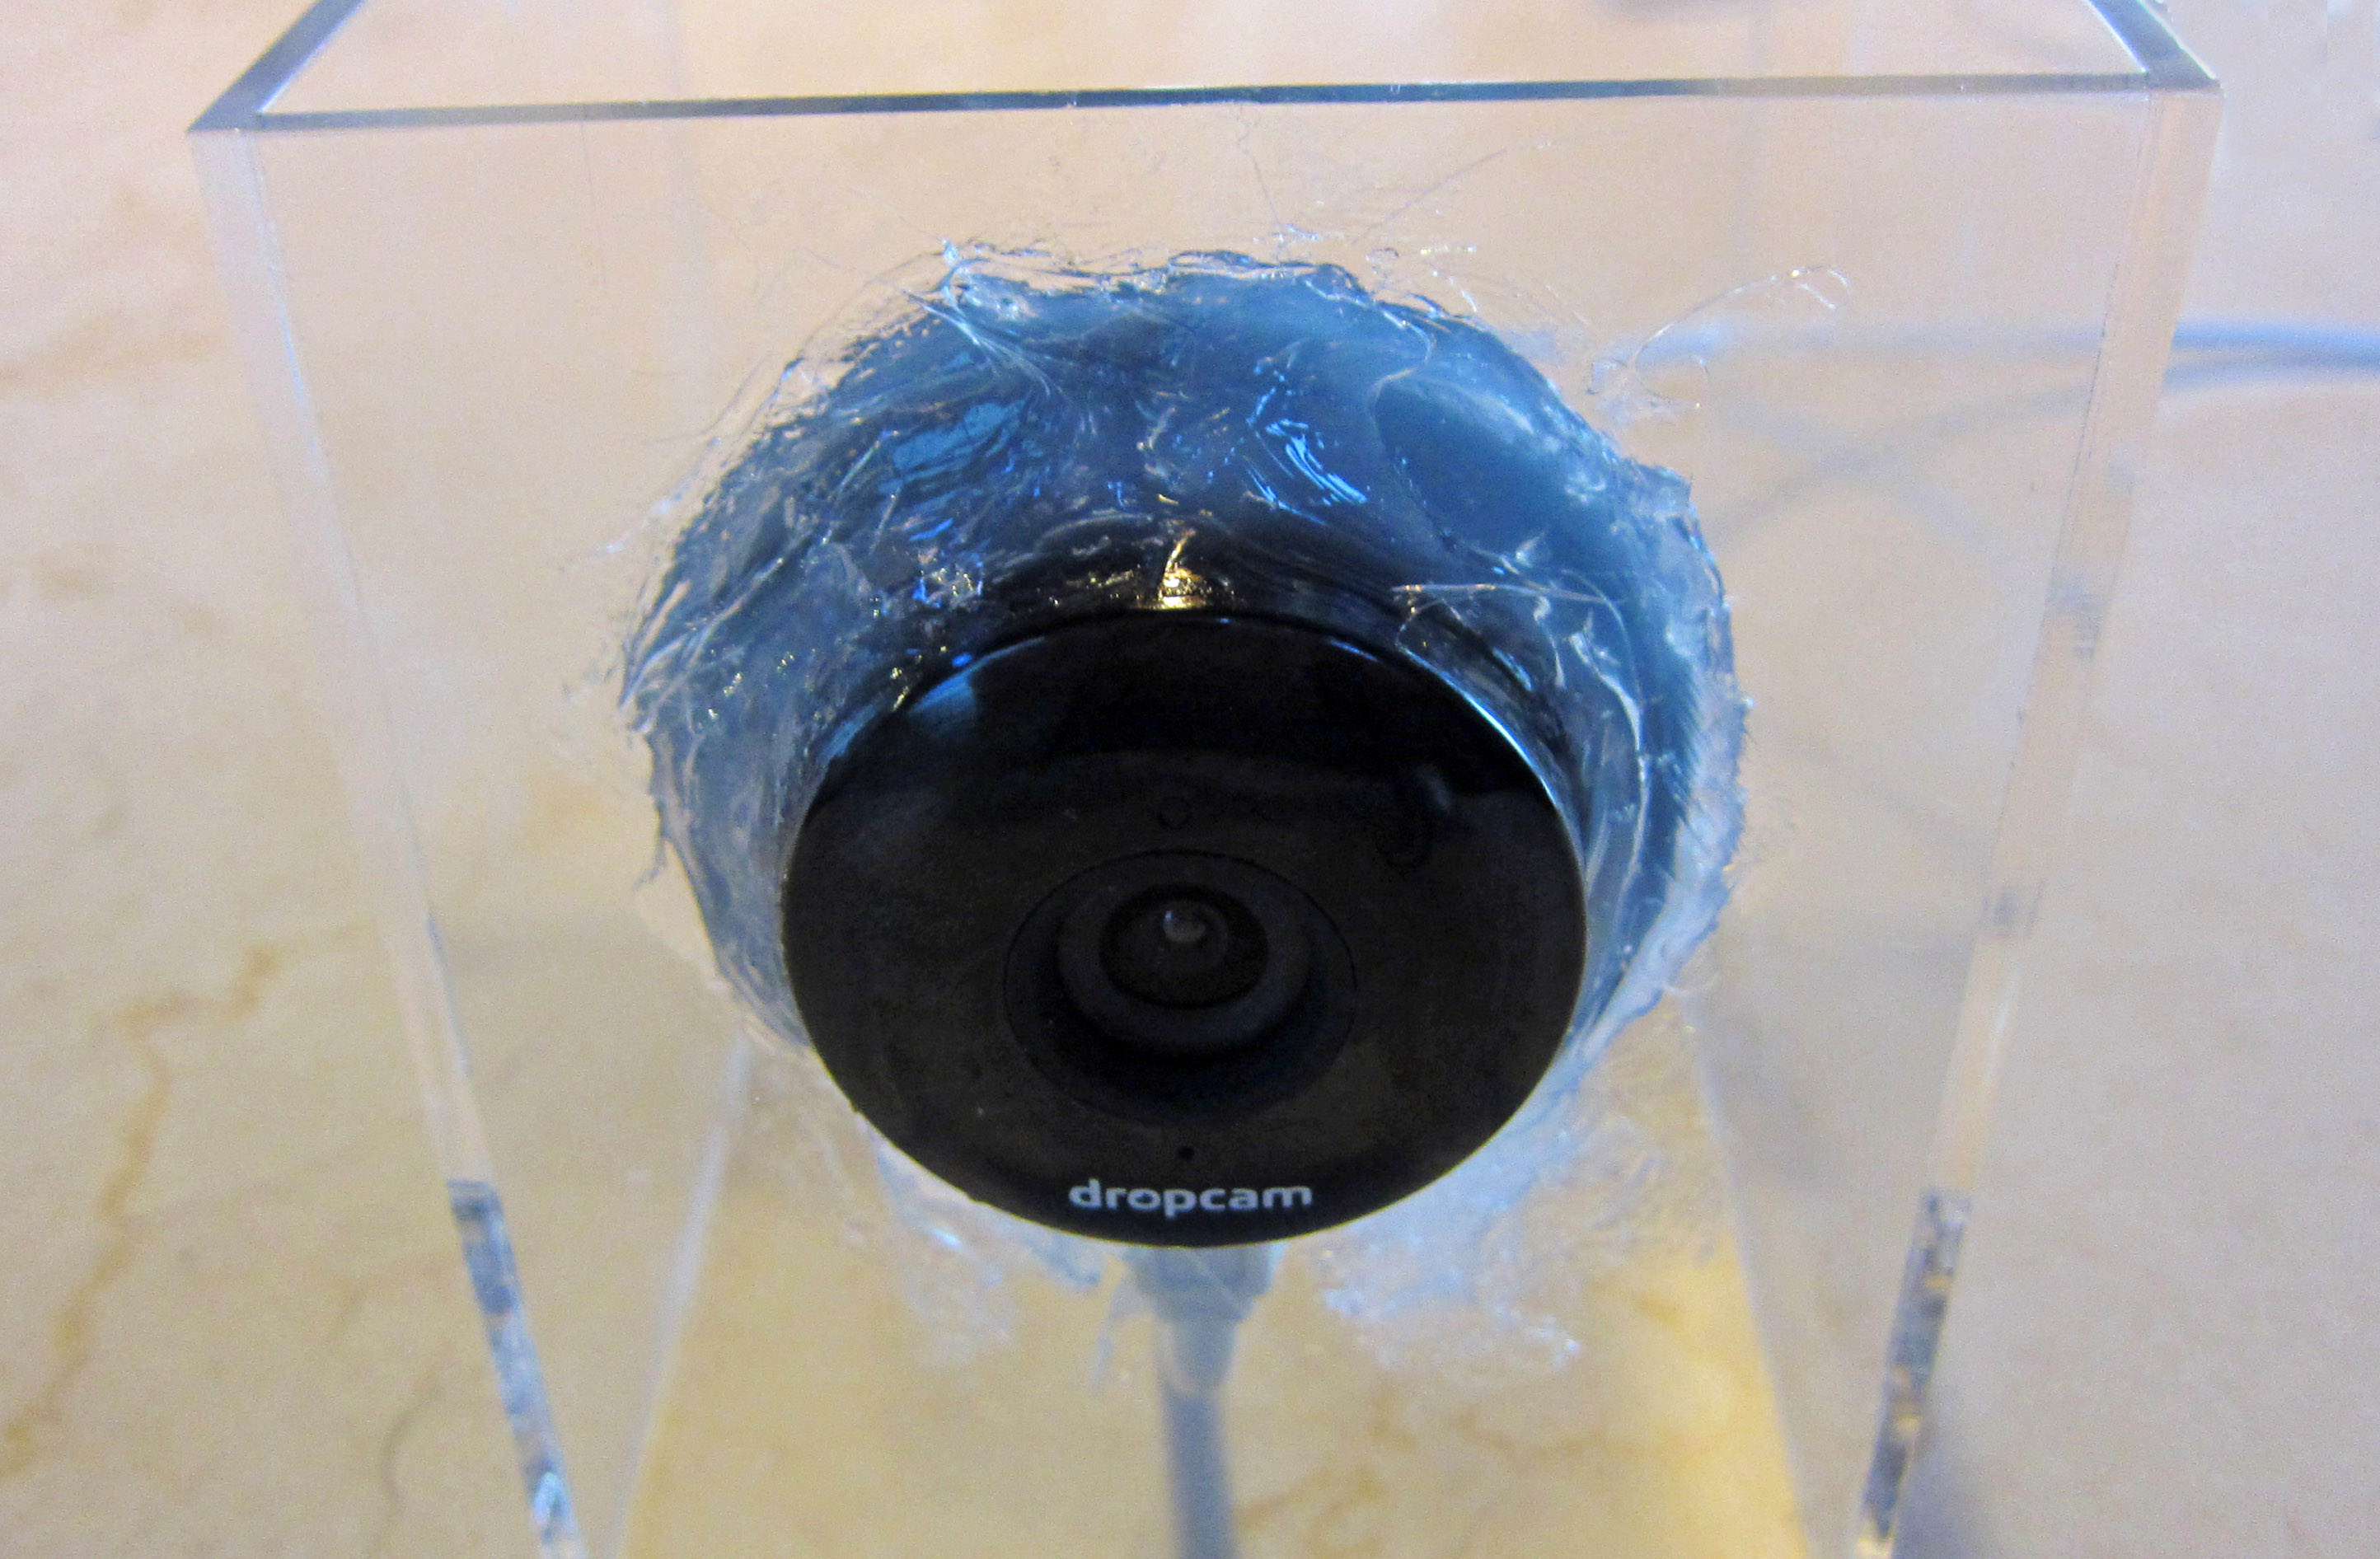
In the morning after letting it dry for 12 hours, I put some more silicone on the front to seal it even more securely against the ocean air. I took care to not go over any of the air vents the Dropcam uses to cool itself, and not cover the lens or get any silicone at all anywhere on the front surface of the camera. It looks ugly, but the optics and the camera performance should be Ok.

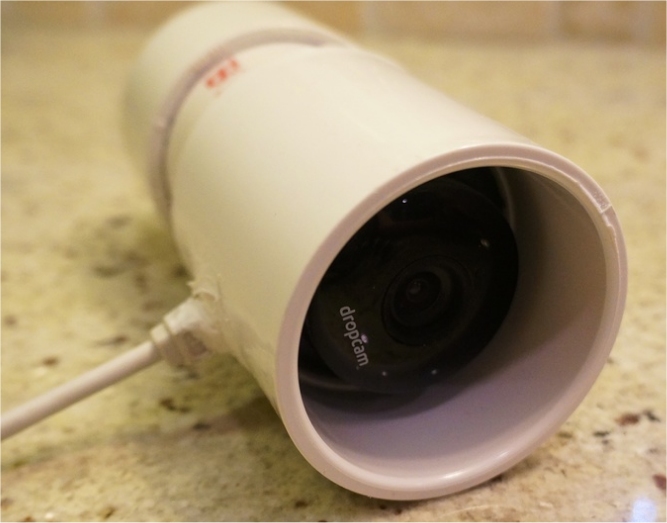
A close up of the final weatherproofed Dropcam.
The final step is to toss in a few of the moisture absorbing gel packs and put the lid on. I taped the lid shut with scotch tape, nothing fancy.
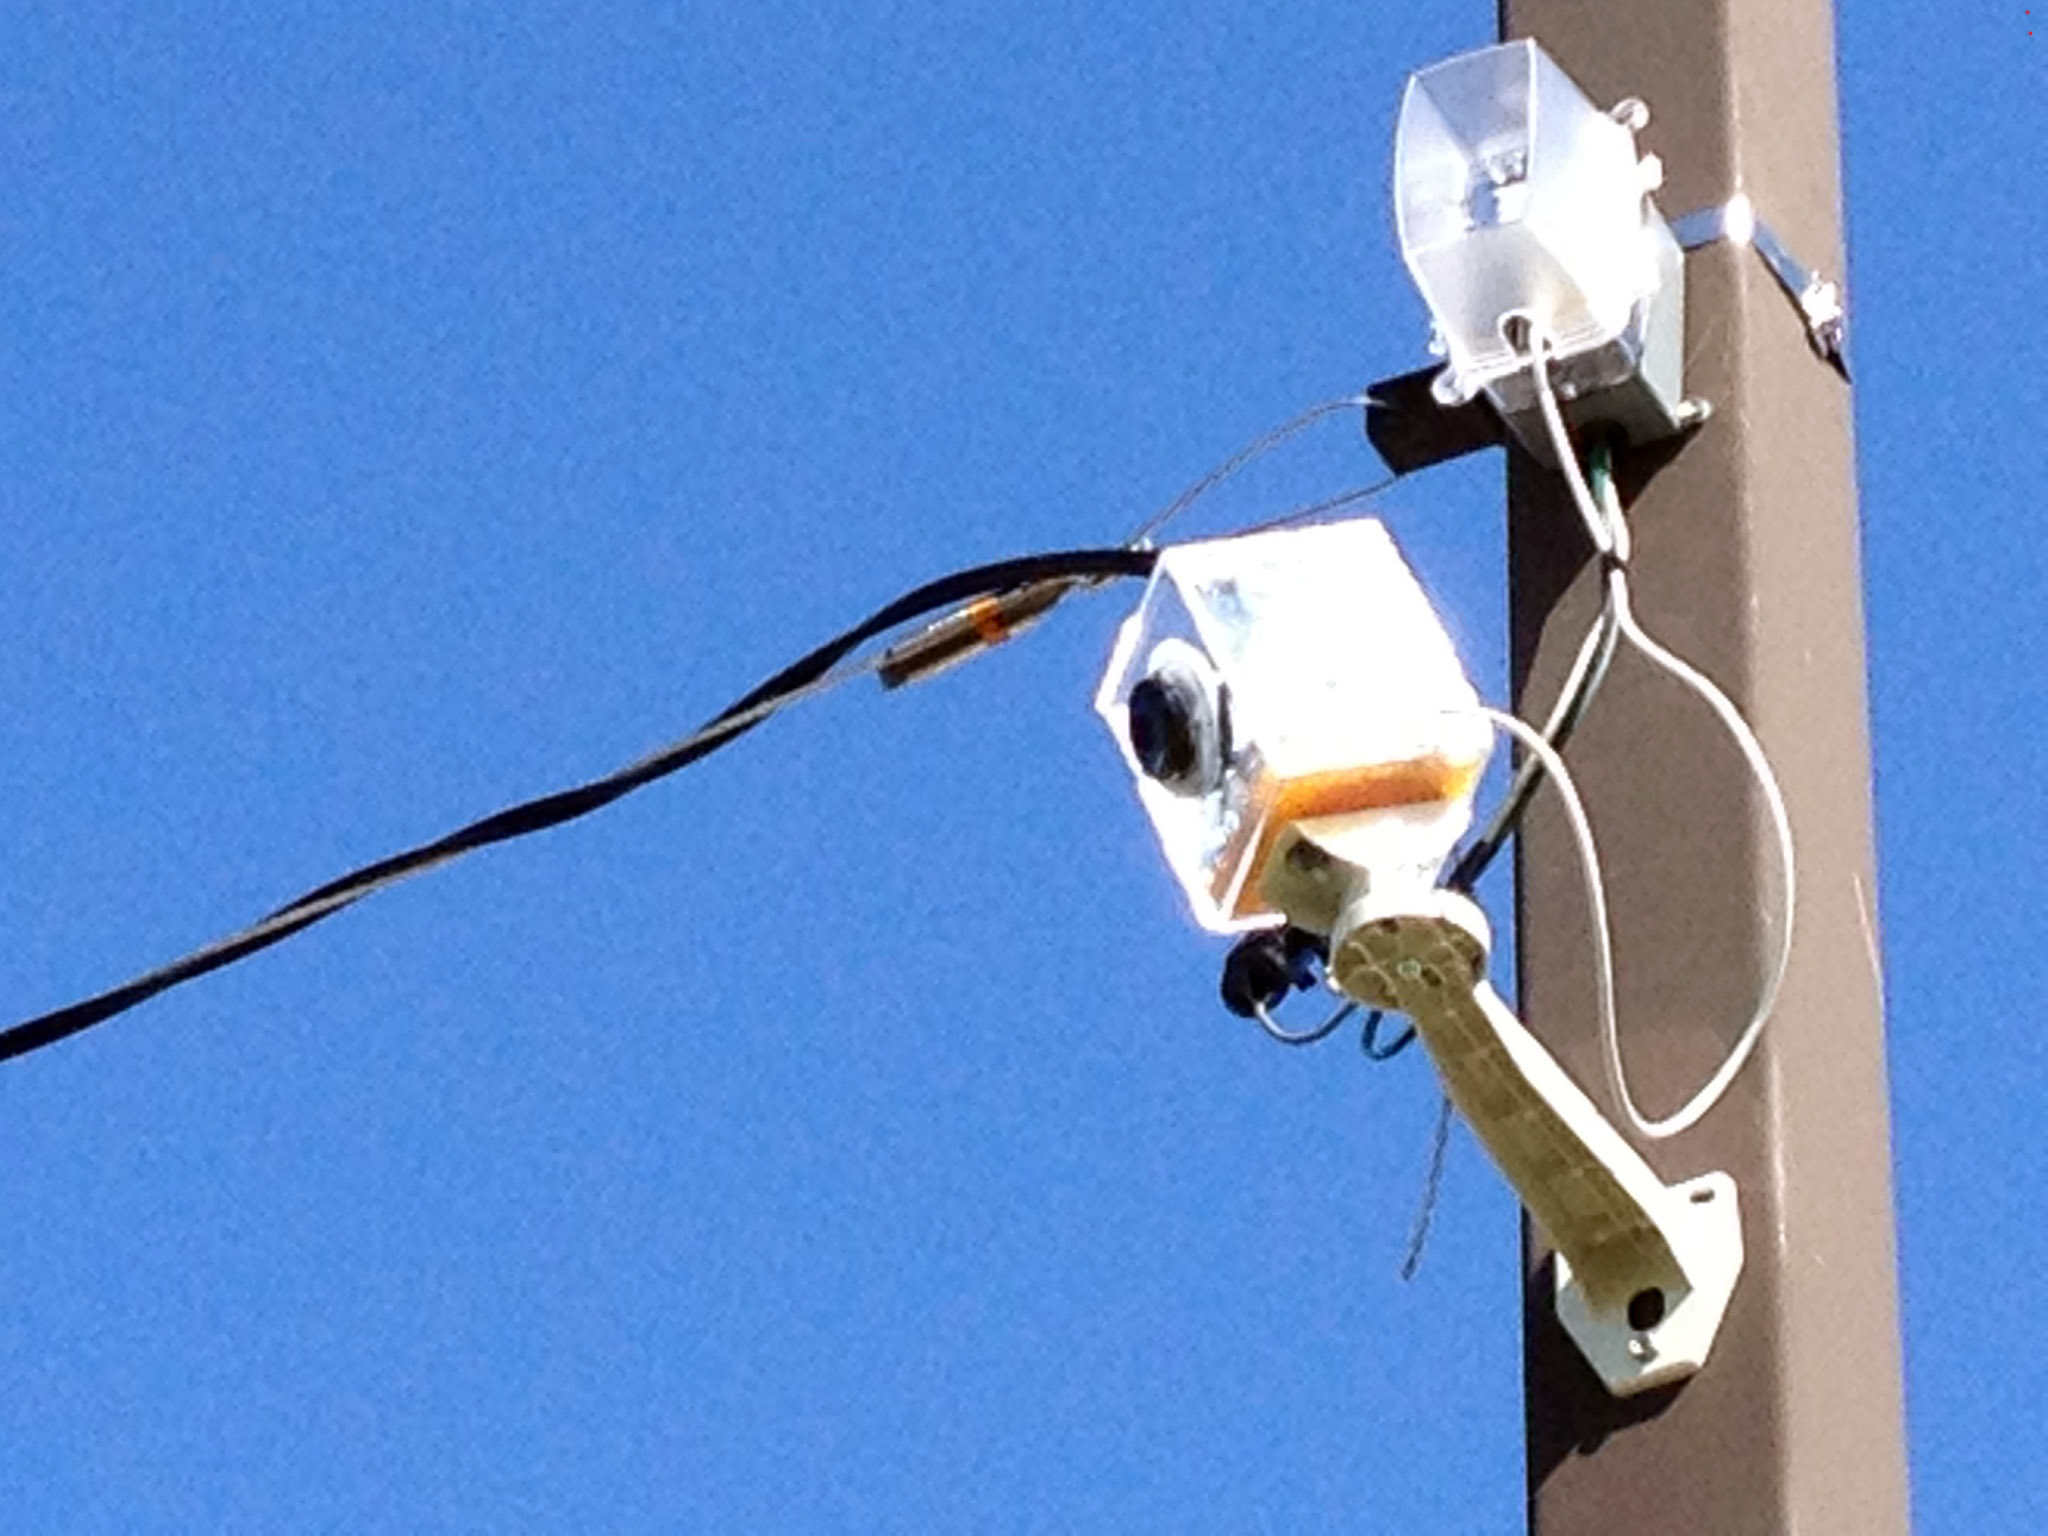
Finally, here it is "deployed" out in the weather:
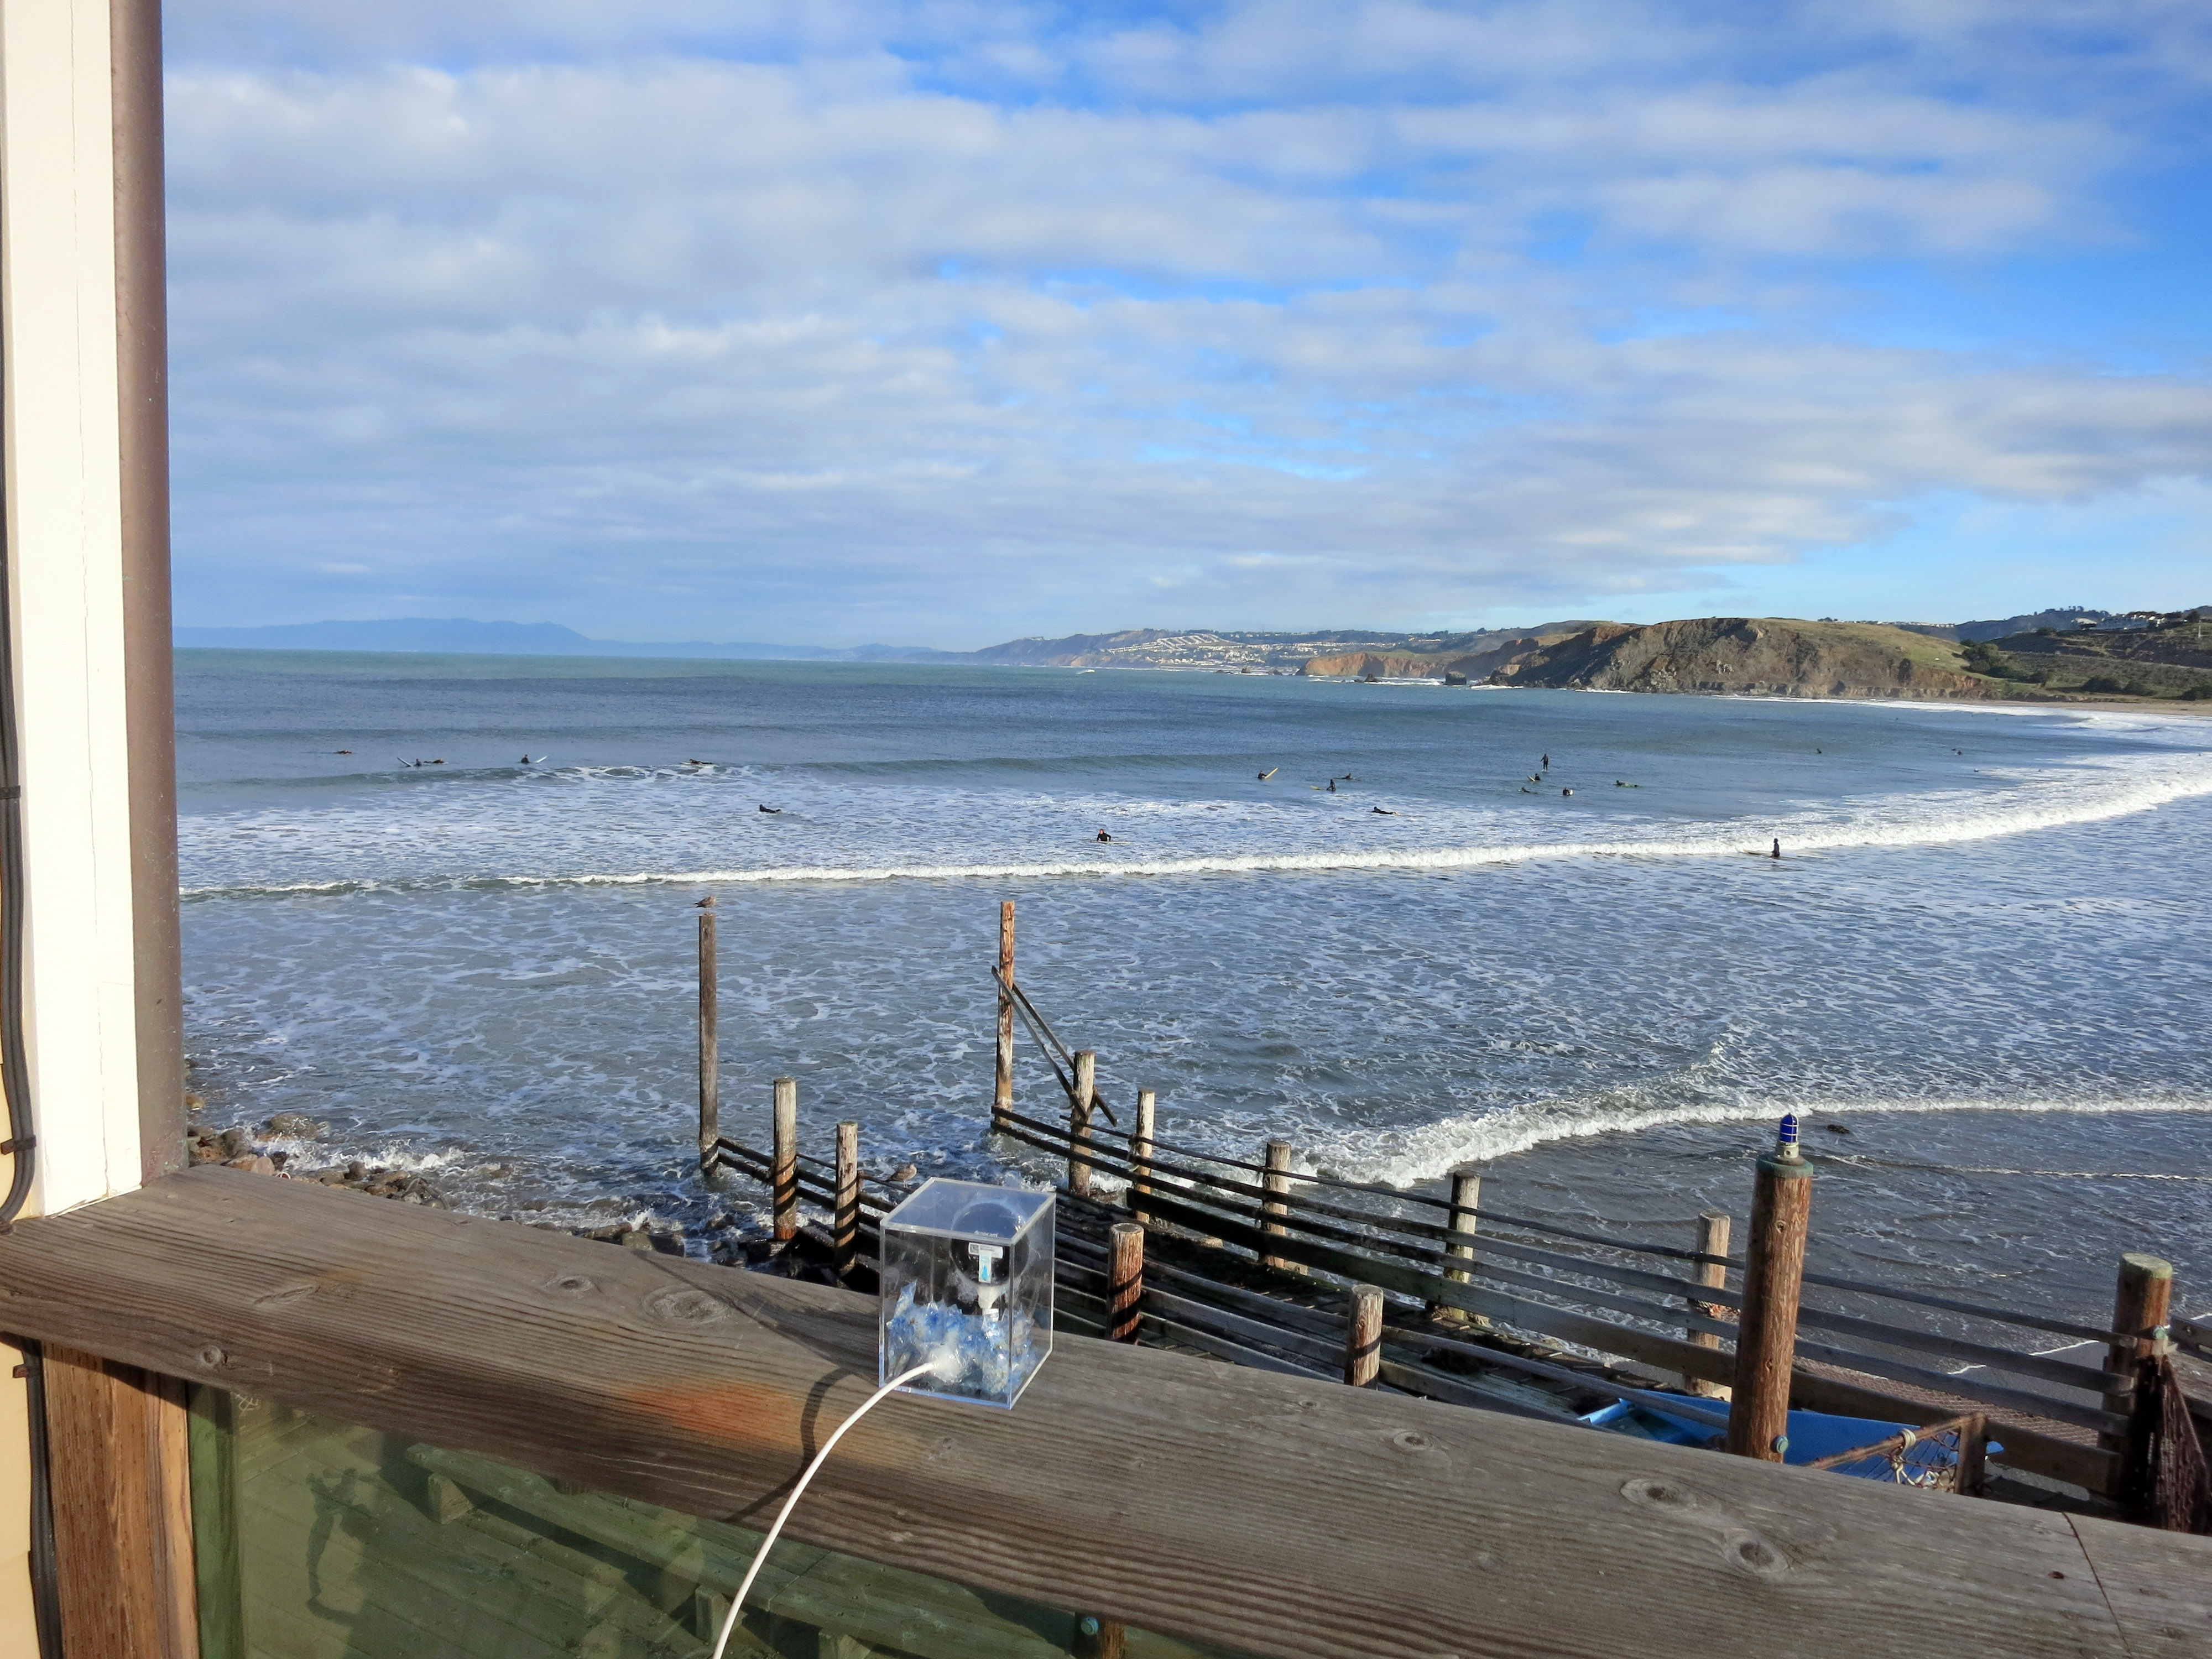
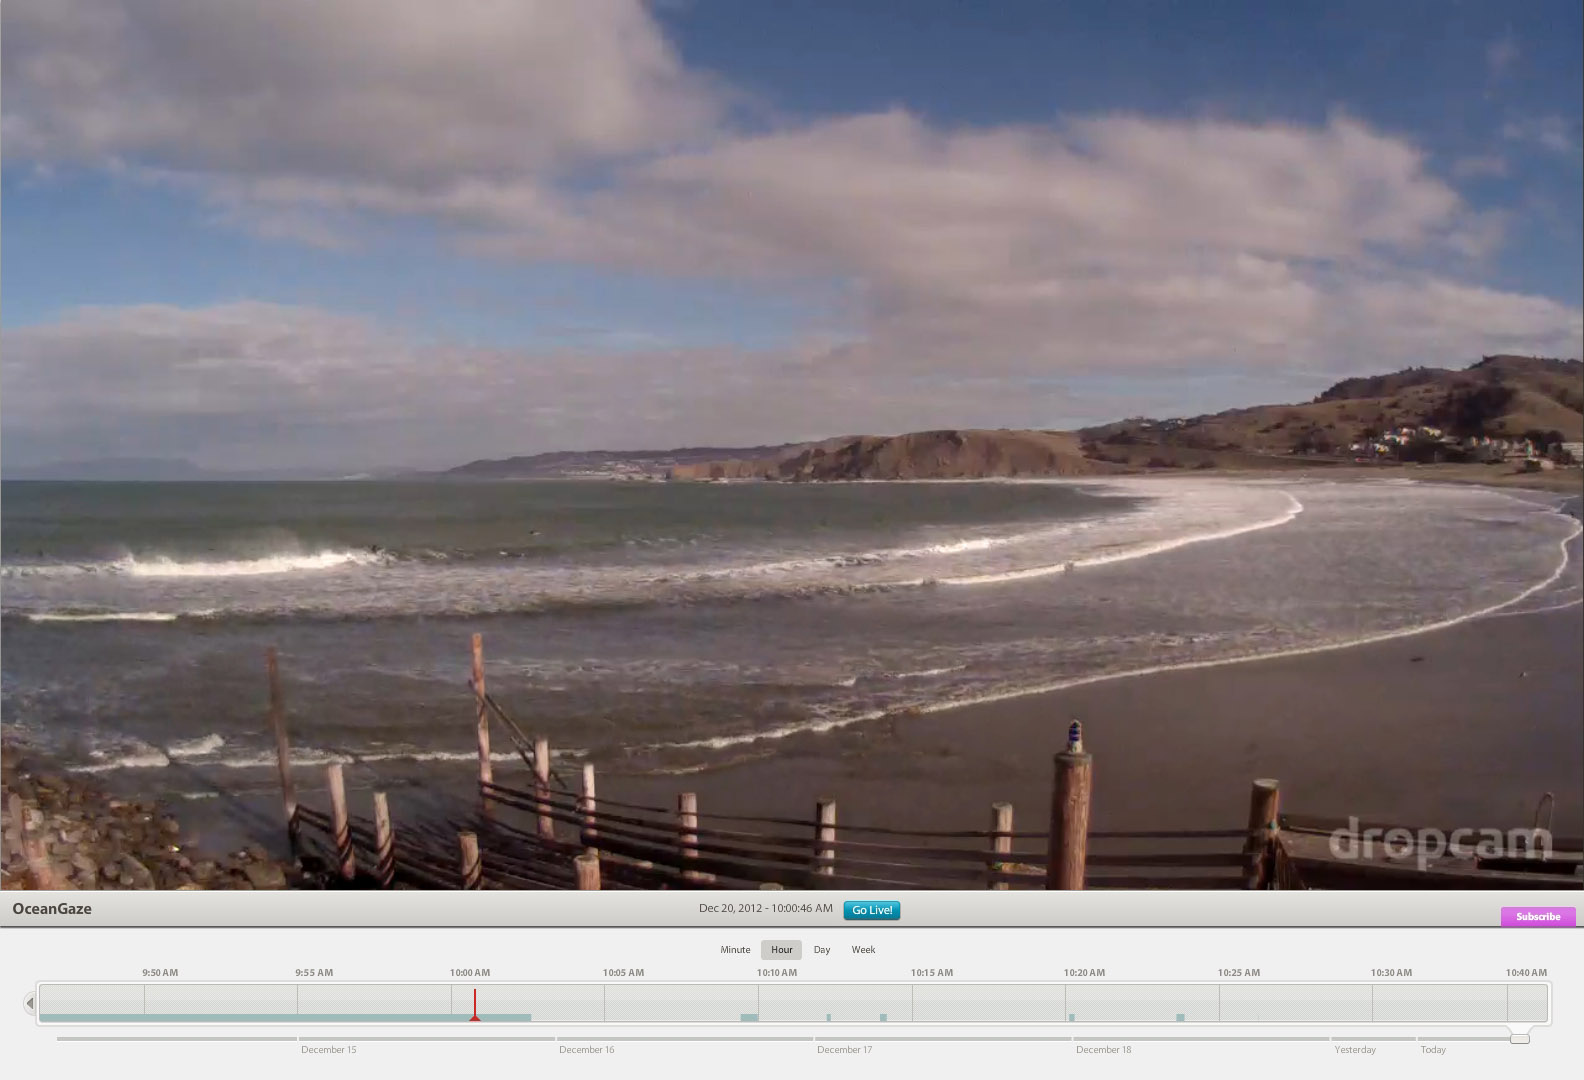
You can see the live feed from this weatherproofed Dropcam by Clicking Here. Below is just a static screenshot of what you see:
ADDED 5/14/2013 - from Jason Port, two of his Dropcam Weatherproof enclosures he built. Notice he moved the power cable hole to 90 degrees (which might be a better design!) and also has a mounting bracket attached to the bottom of the enclosure. By the way, my favorite part is he is using a bowl to dry the silicone, making me feel less silly. :-)
And here are his deployed, very nice!
Finally, here is another alternative design by another person out there:
http://jamiemoney.com/blog/2013/7/11/weather-resistant-dropcam
Another person wrote this blog: http://thebrianhayes.tumblr.com/post/67975864349/building-a-weather-resistant-dropcam-case
Update 6/17/2014 - new "professional" cases have started appearing, here is one that looks nice: http://www.dropcases.com their solution is $49 seen below. NOTE: I have no affiliation and have not tested these cases, and I'm not recommending them and I don't care if you buy them or not!! Just passing on information!
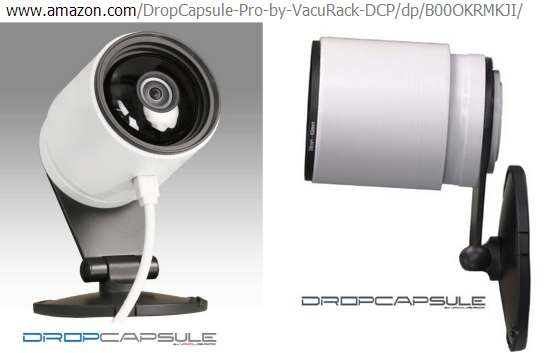
Update 10/27/2014 - here is another nice looking professional version, the DropCapsule for $47:
http://www.amazon.com/DropCapsule-Pro-by-VacuRack-DCP/dp/B00OKRMKJI/
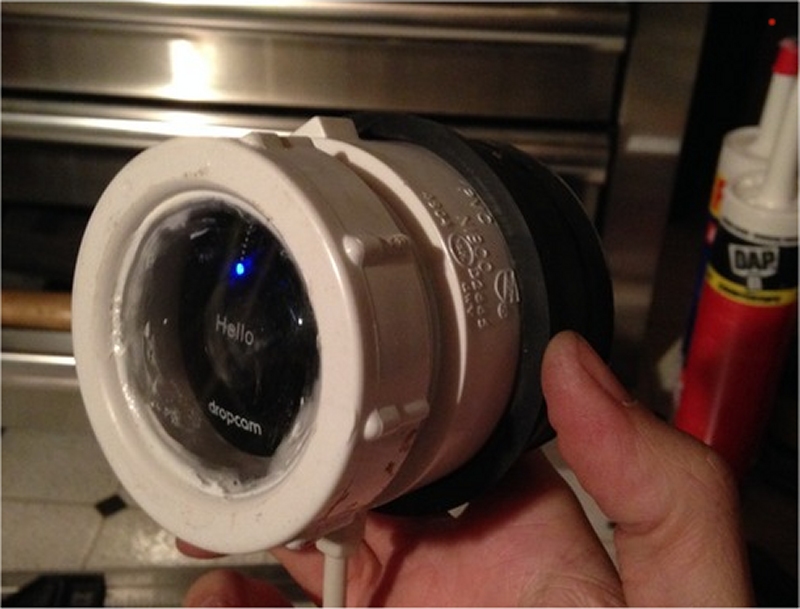
NEW UPDATE October 10, 2013 - My new "Dropcam Pro" arrived today! This is the same dimensions, but slightly higher quality picture, wider viewing angle. As an experiment, I've decided to just waterproof the Dropcam directly by coating it with silicone. No enclosure! Here we go.... below are all the components I plan to use: a Dropcam Pro, and a $2 container of DAP Clear Silicone from the local hardware store.
I start by taking the Dropcam out of the "stand", plug the micro USB port FIRMLY (in for the final time) and ring the connector with clear silicone to make it resistant to water and weather.
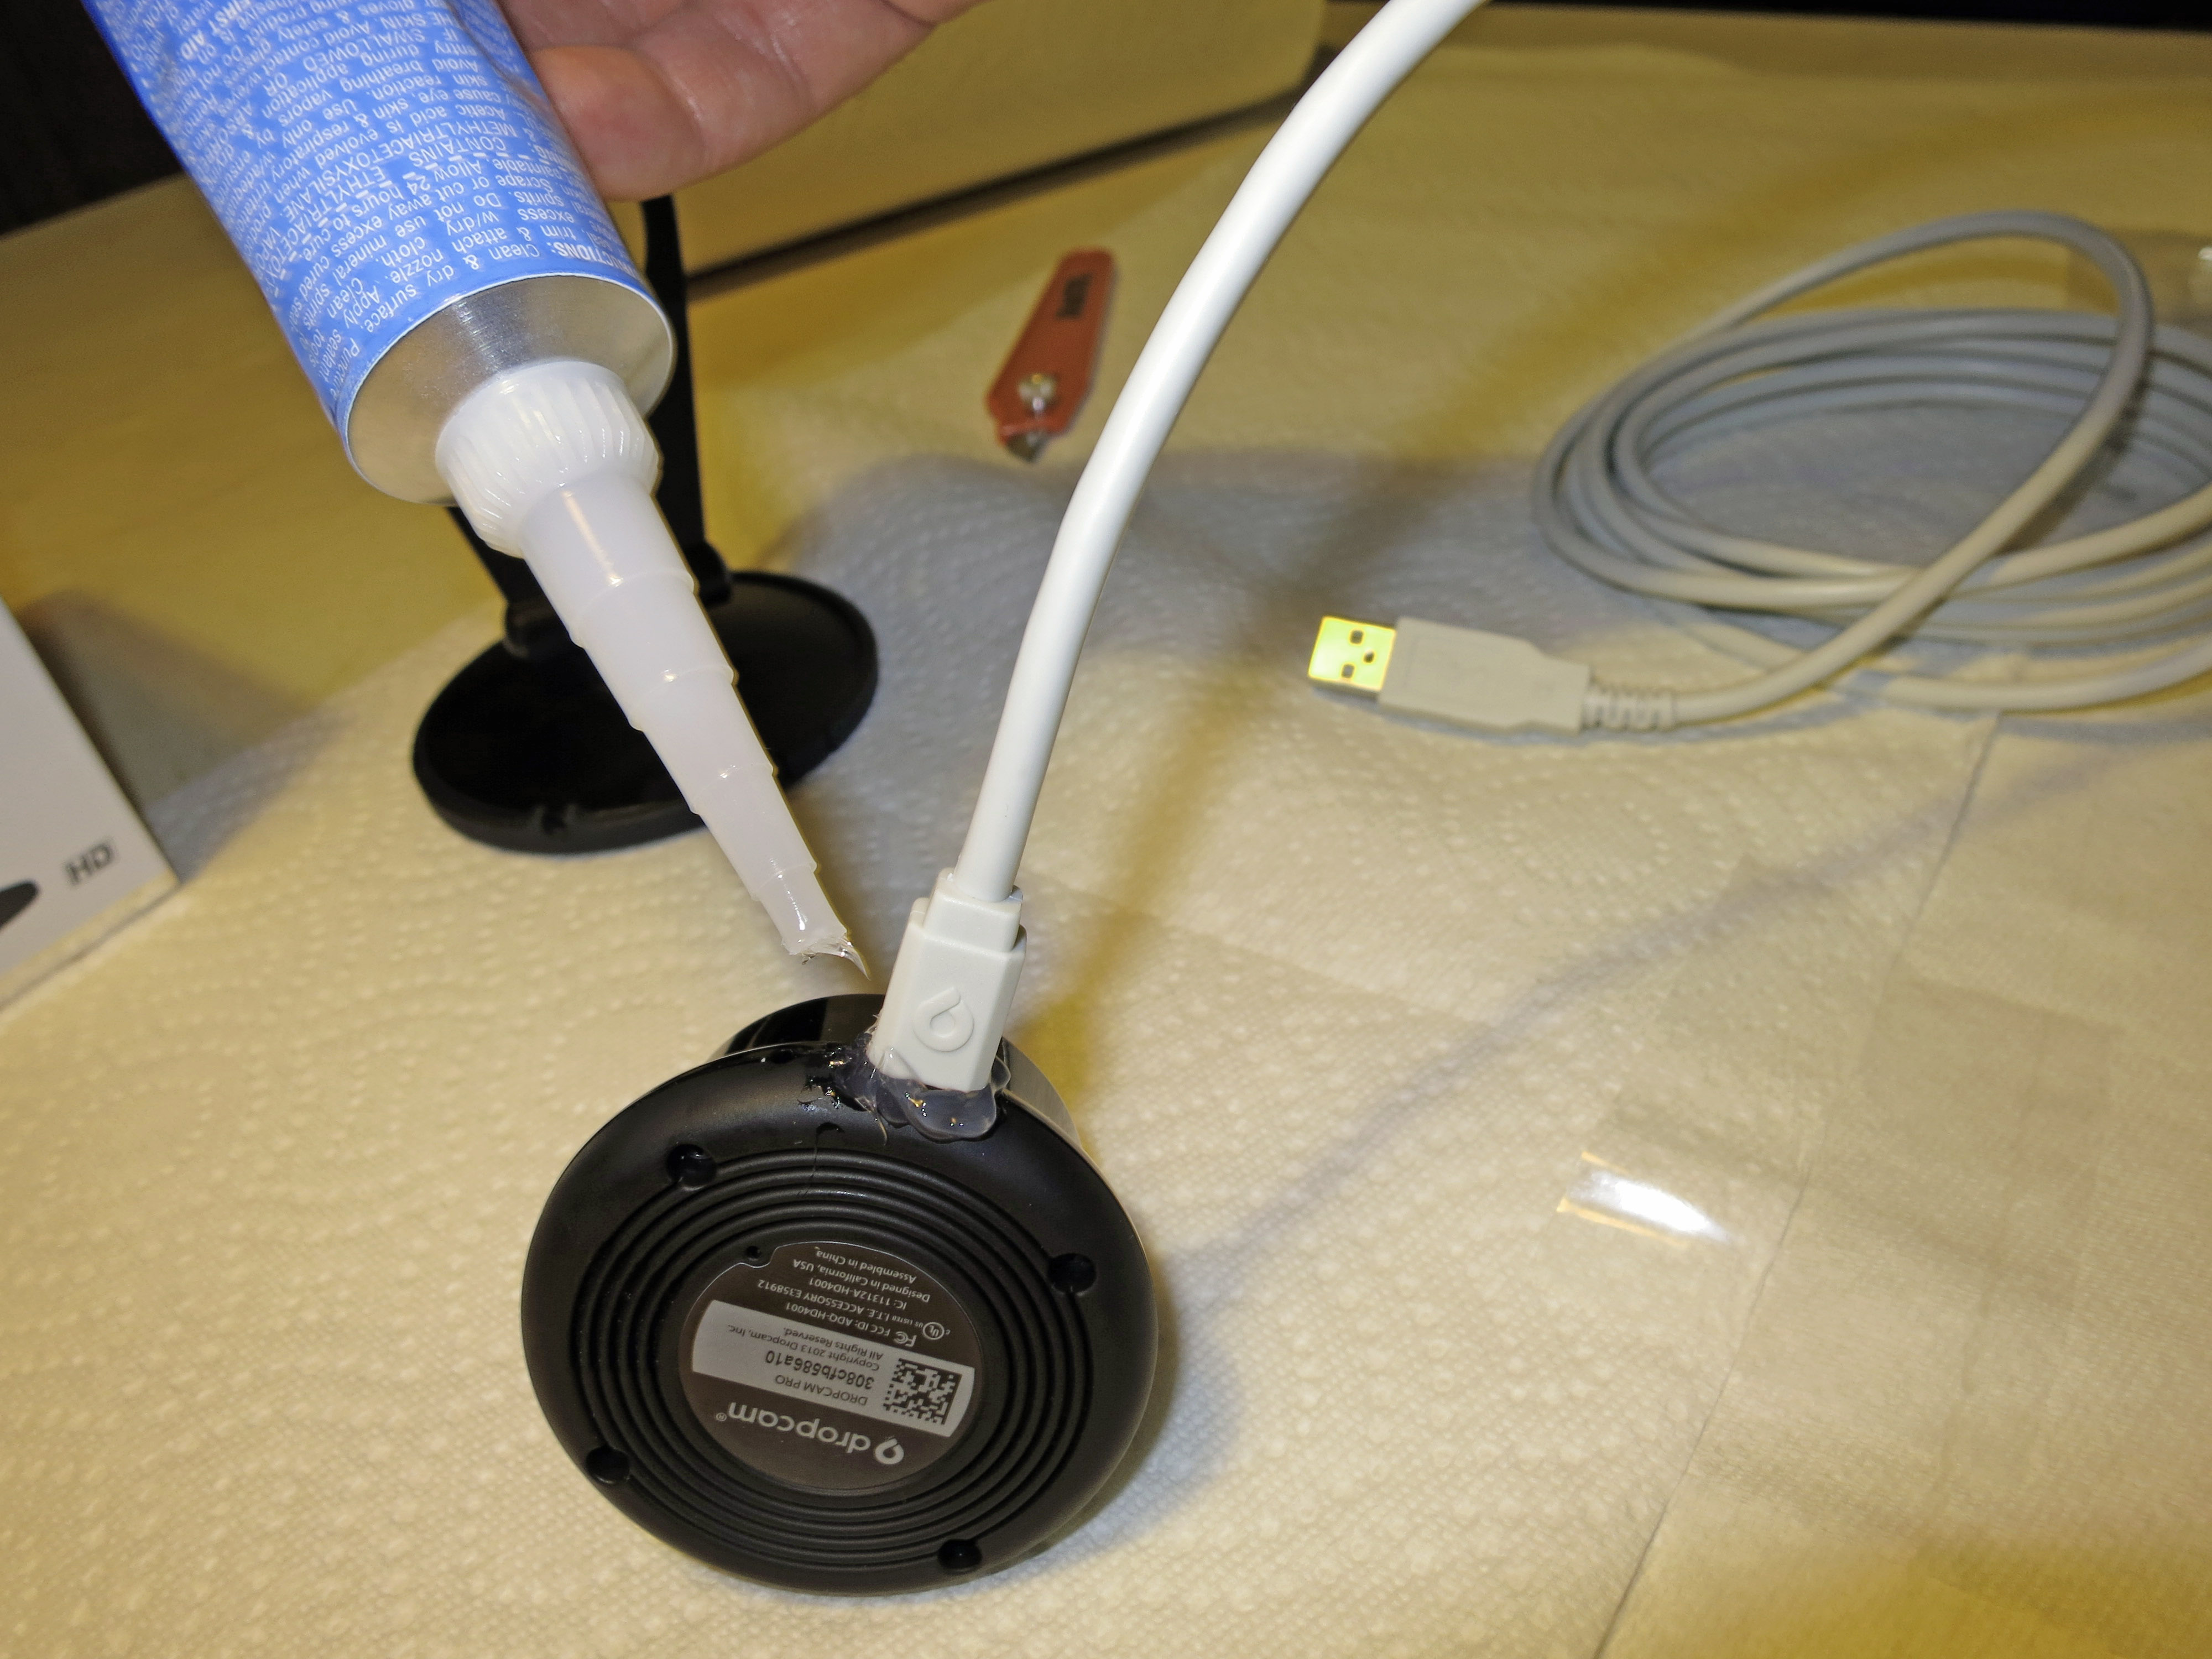
Here is a close up of covering the Dropcam connector. I try not to leave any airholes, and slowly build up the amount of silicone on it.

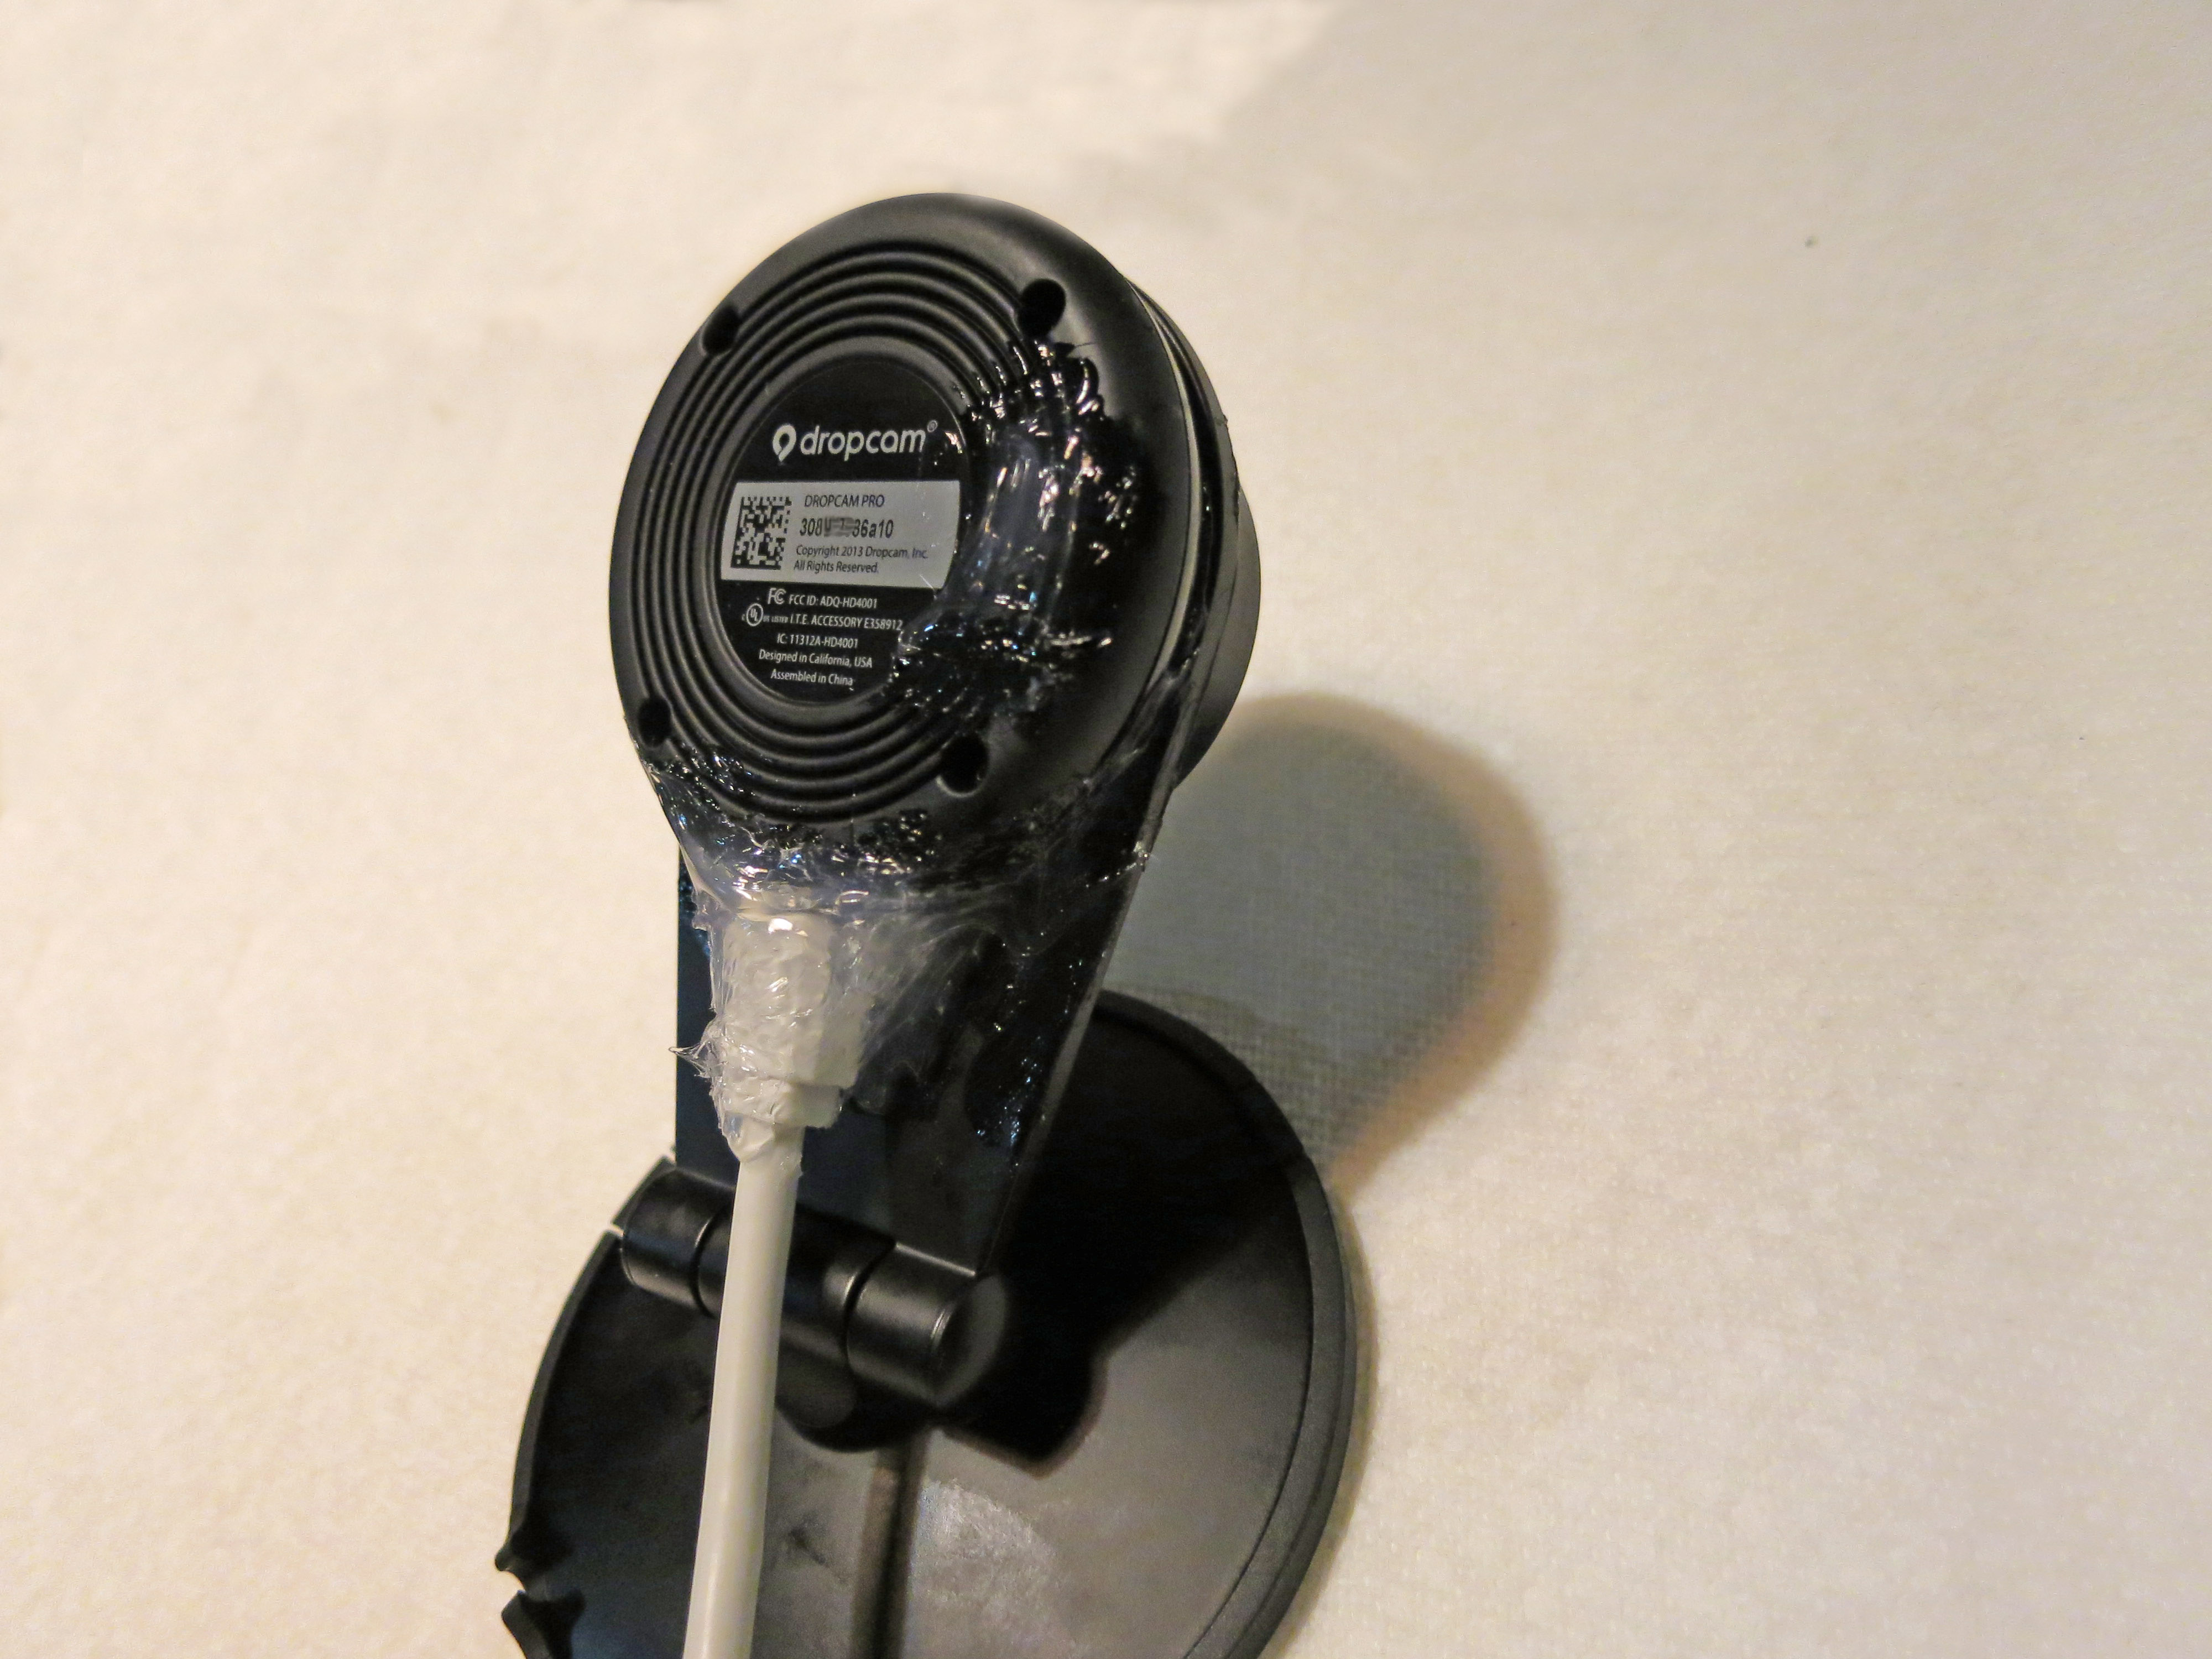
After a while, I "click" the Dropcam into its stand as seen below, and continue to build up the amount of silicone. Notice there is a large speaker on the back of the Dropcam, I covered that up with silicone hoping this will keep the rain out.
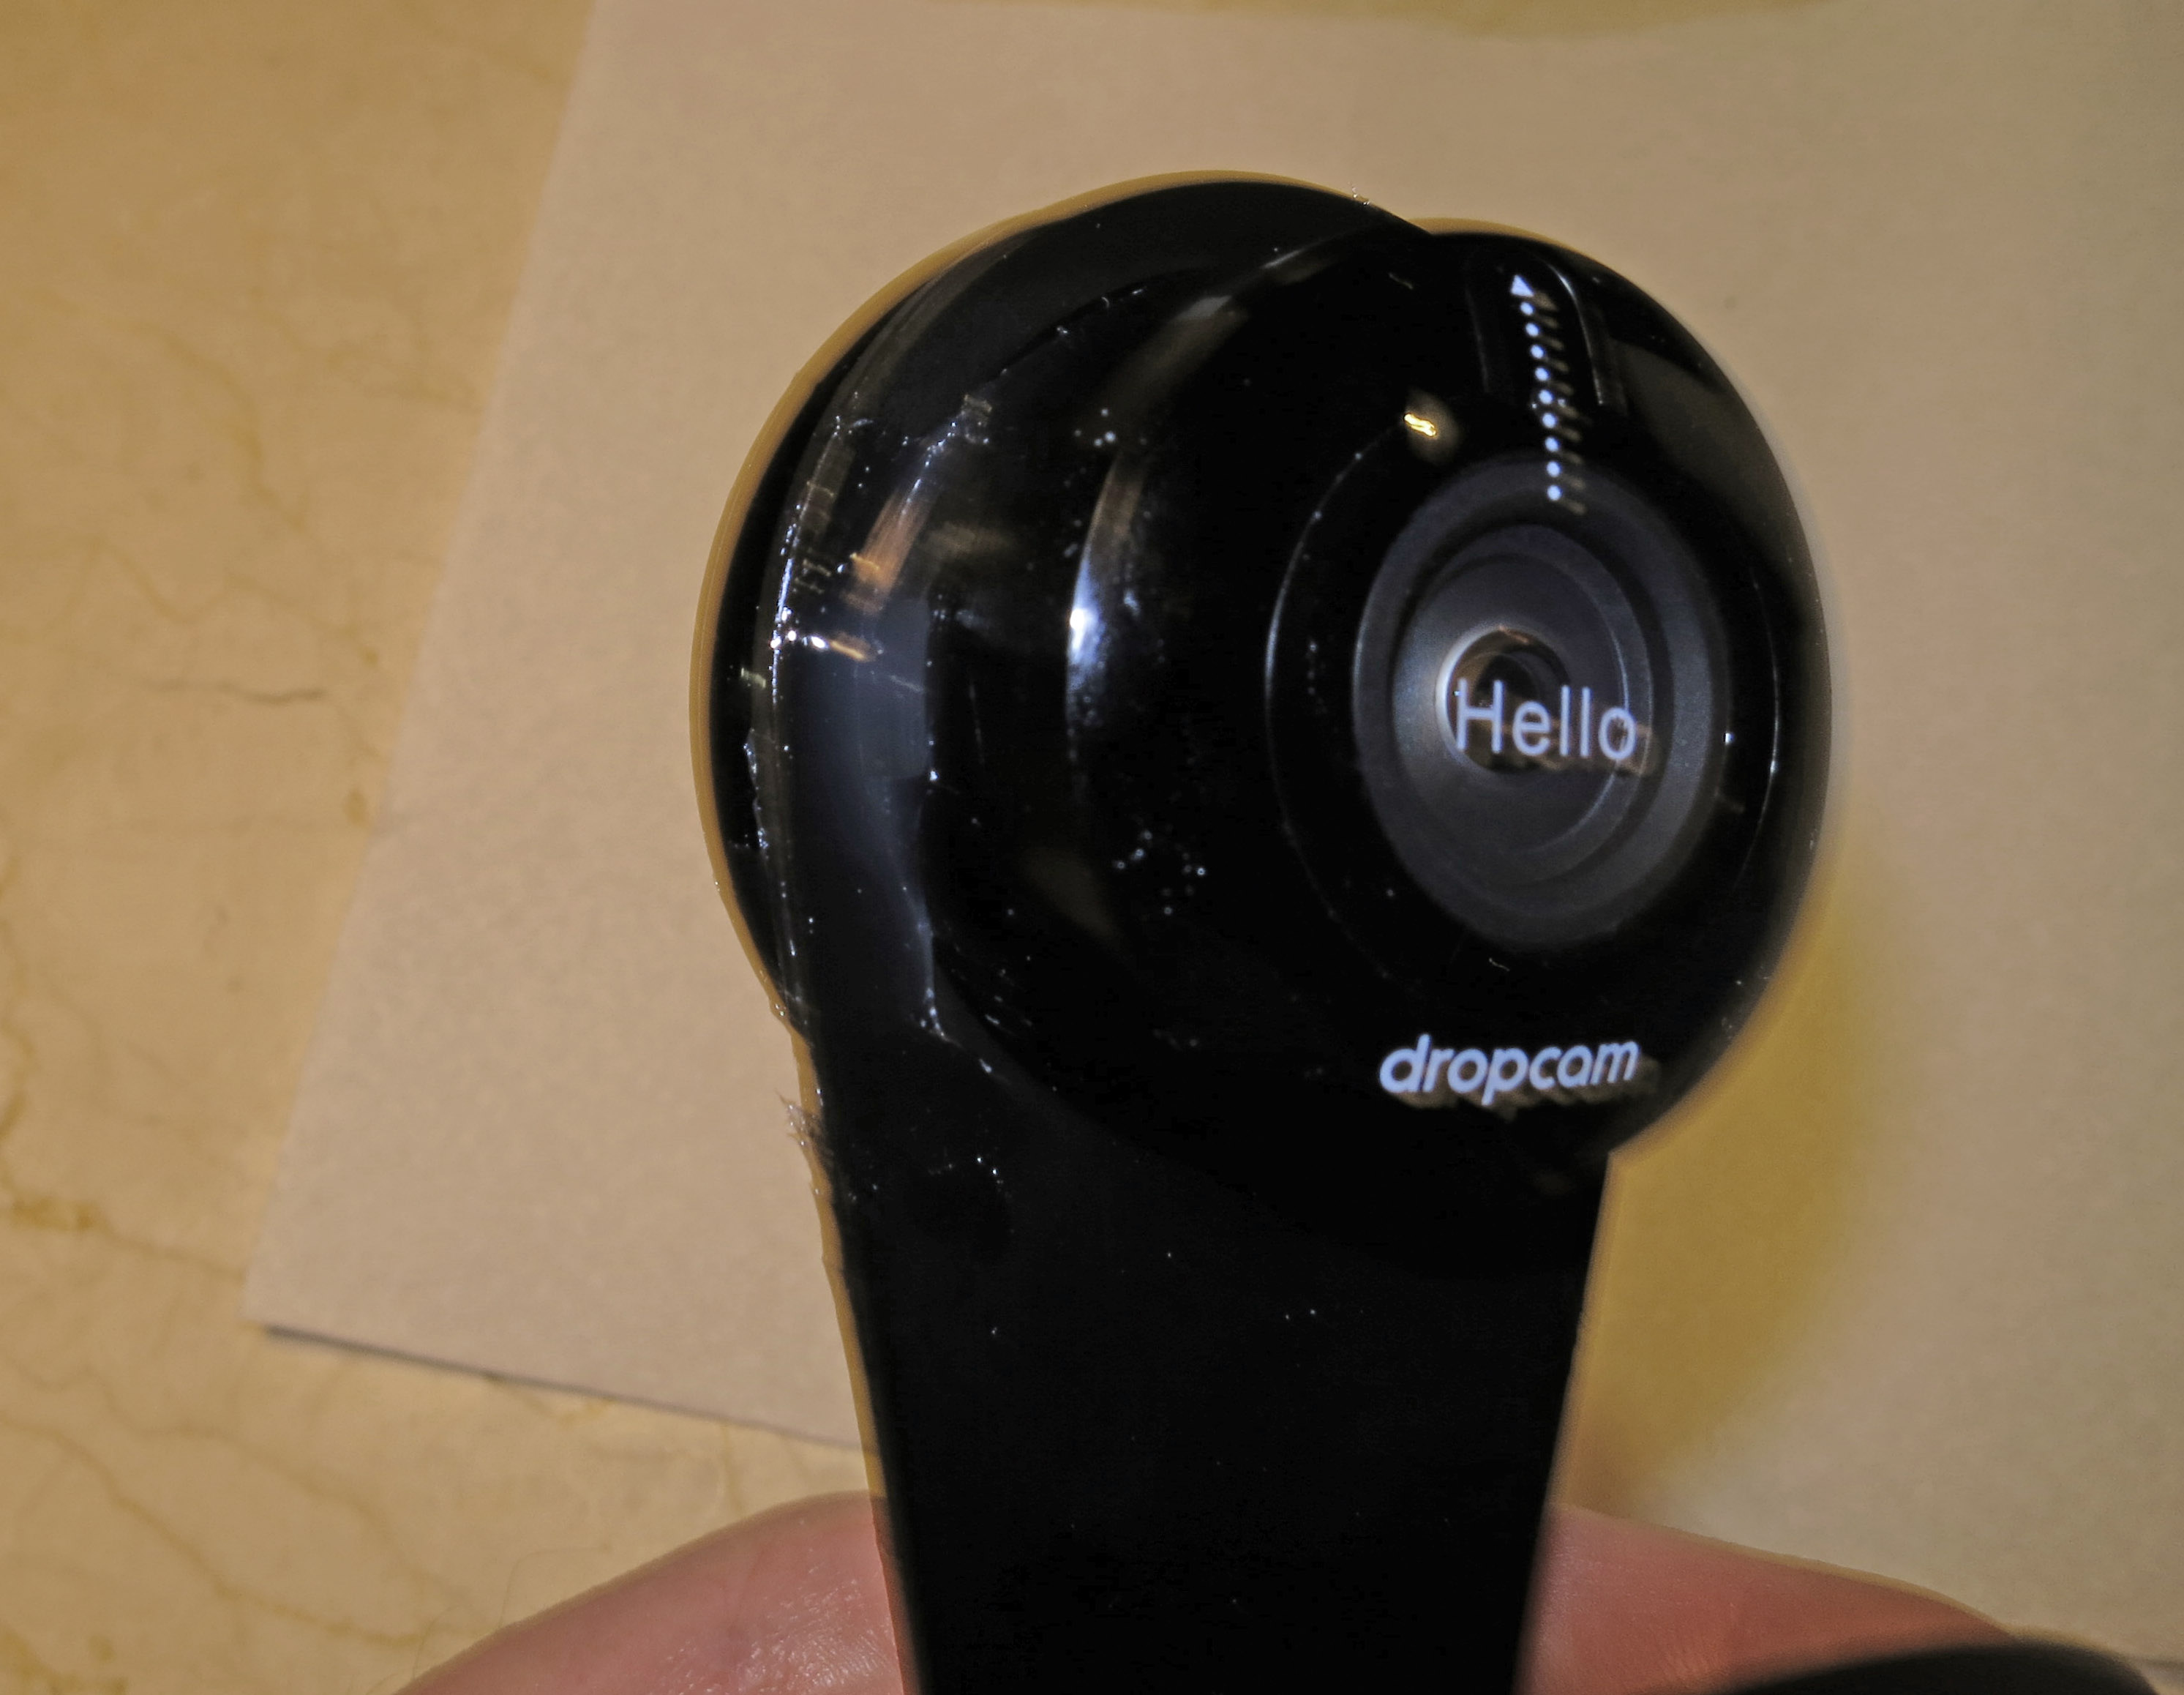
During this whole time I left on the "Hello" label that protects the lens in shipping. After all the silicone is dry, I removed the "Hello" label and deployed it!
UPDATE October 18, 2013 - It has now been deployed for 7 days, and the picture is wonderful and the camera hasn't overheated from this treatment! It is sitting outside on the railing facing the ocean, you can see the view here: https://www.dropcam.com/demo/703f9eb6507048d9966f460c6153b697
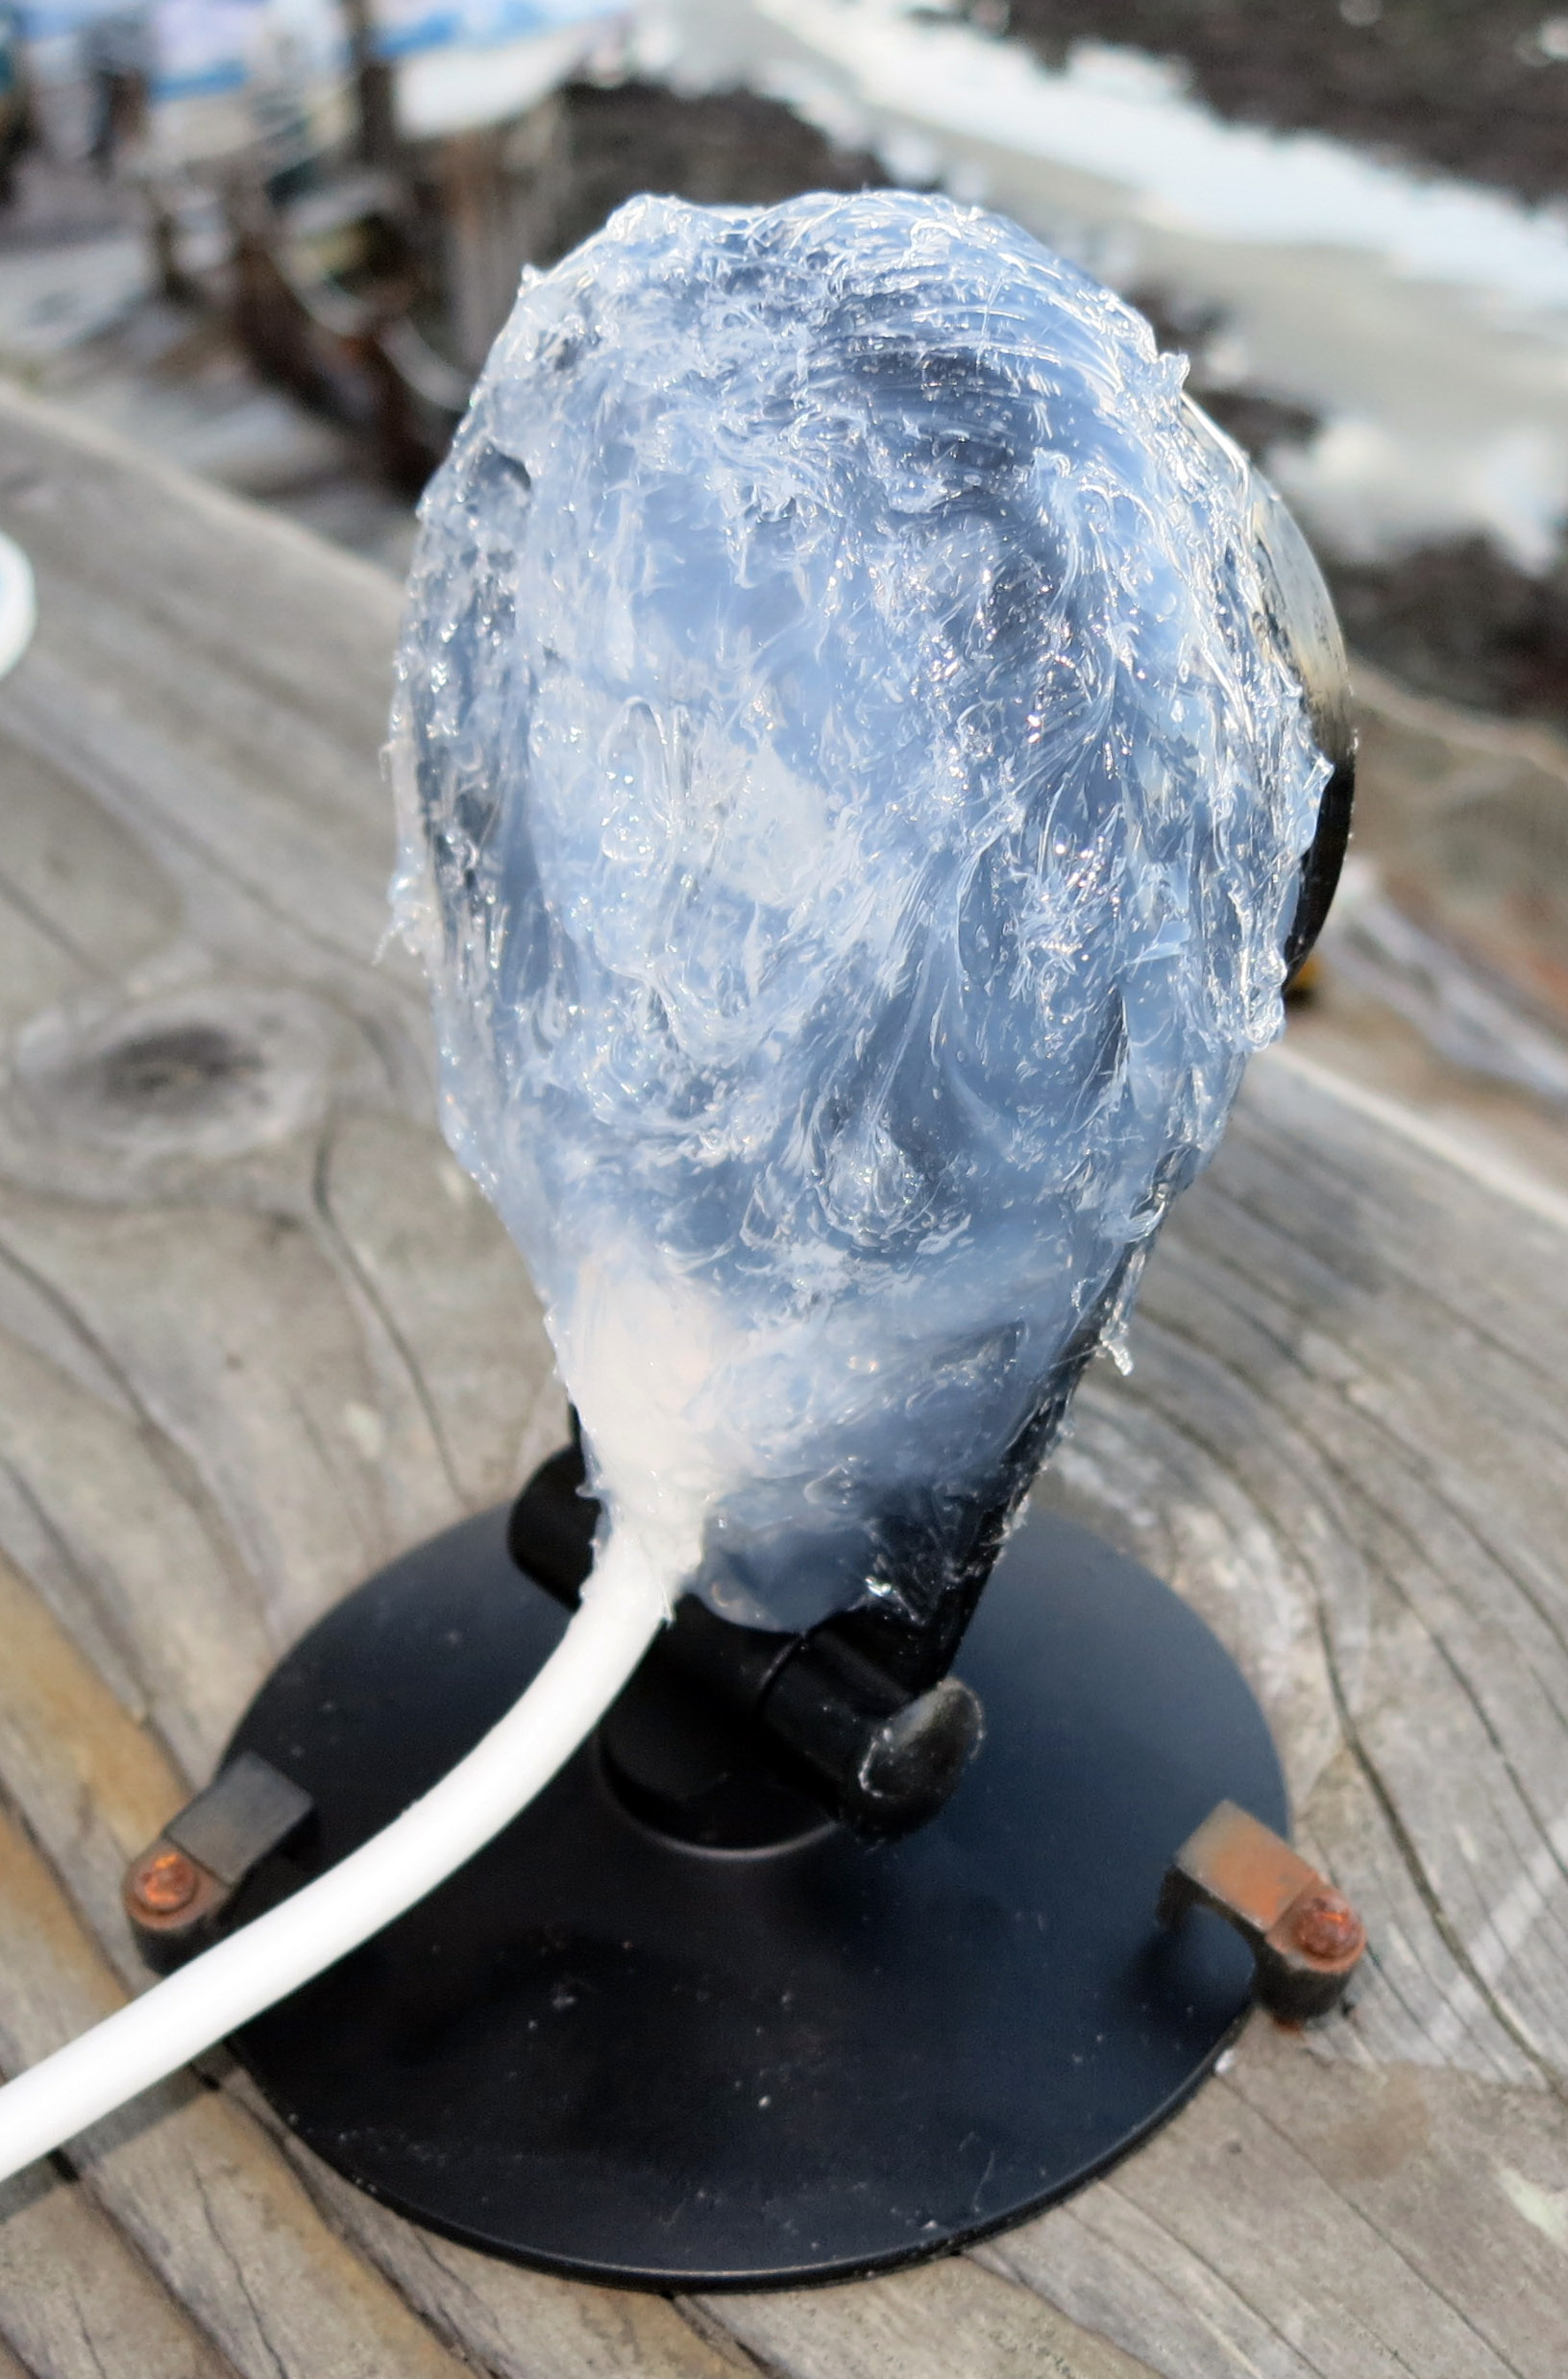
UPDATE 12/5/2013 - The DropCam Pro died in the rain! I coated a new one with EVEN MORE Silicone, here are two pictures:

Another picture:
That's it!